Because Little Buns are in Fashion
 Taneasha
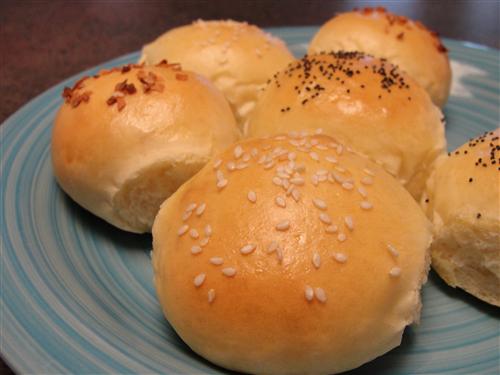
Sliders are all the rage right now, and to be honest I think it’s great! Not only are sliders cute (we all know little things are cute) but because of their small size, they’re easy to eat, and you get to have more than one! That definitely appeals to our greedy nature, and it also allows for variety. For those of us who are somewhat decision impaired, that’s a very good thing. These little buns are perfect for your summertime cookouts. (I’m converting to the local lingo.)
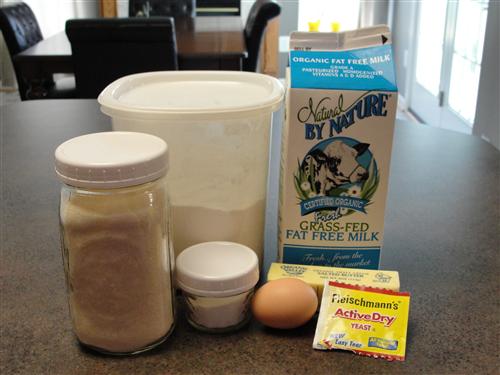
Here’s what you’ll need:
- ¼ cup warm water
- Pinch of sugar
- Packet of yeast
- ½ cup hot water
- ½ cup milk
- 2 Tablespoons butter
- ¼ teaspoon salt
- 1 teaspoon sugar
- 4-ish cups flour
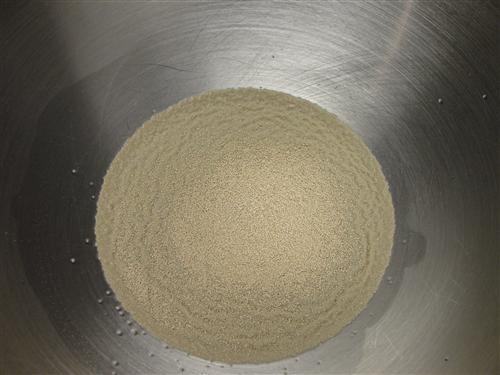
Into your mixing bowl go the ¼ cup warm water (think bathwater temp), pinch of sugar, and yeast. Stir them together and set that aside.
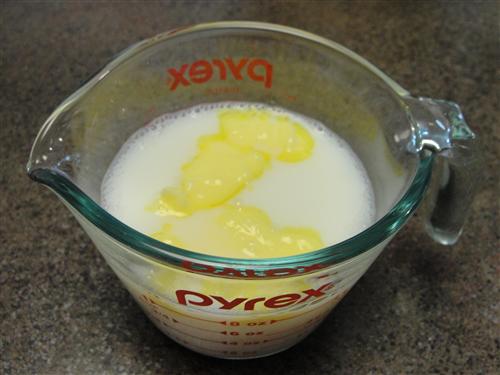
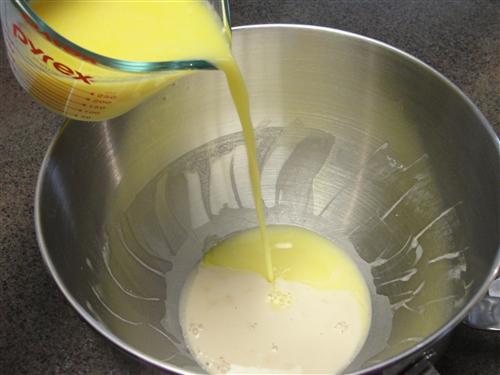
In a measuring cup combine the hot water and the milk, which should also land at warm. Add the butter and give it a minute to melt.
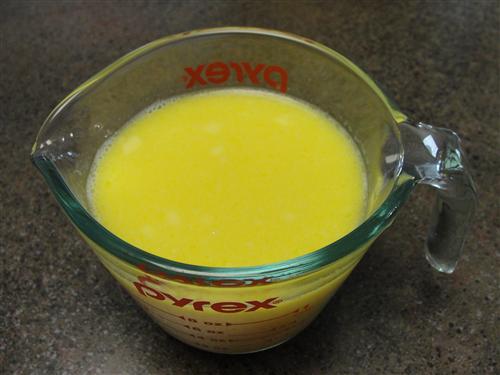
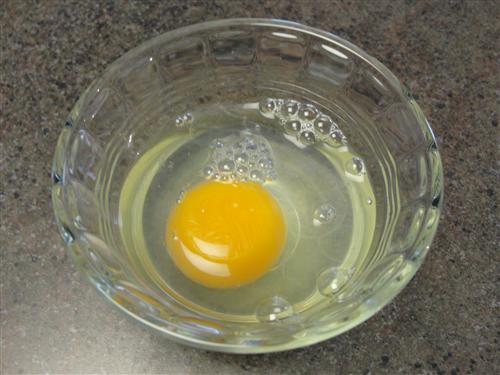
Once it has, add the egg and whisk everything together.
Now back to your yeast. It should be showing signs of life by now, in the form of bubbles mostly.

Pour in the milk mixture.
Stir that together and add 2 cups of flour along with the salt and sugar.
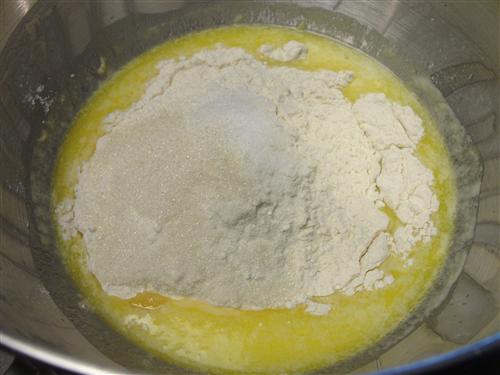
Mix that together until you have a nice batter consistency. Add another 1 ½ cups of flour and mix until it comes together.
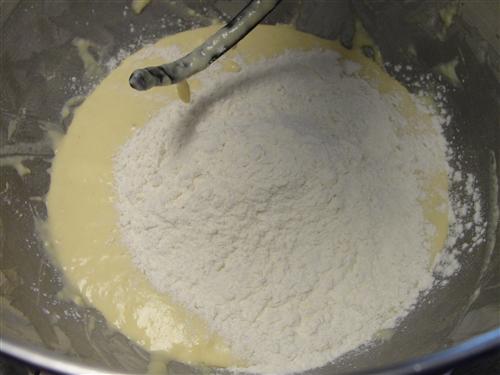
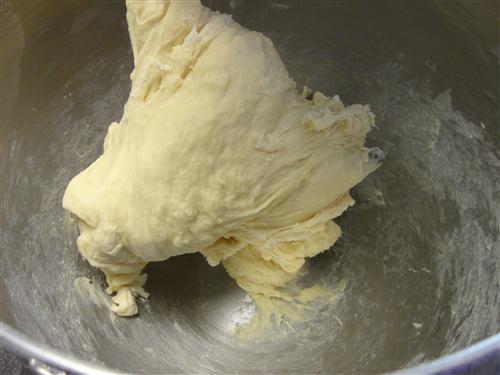
If it looks like this, with a large area still sticking to the bottom of the bowl, you need more flour.
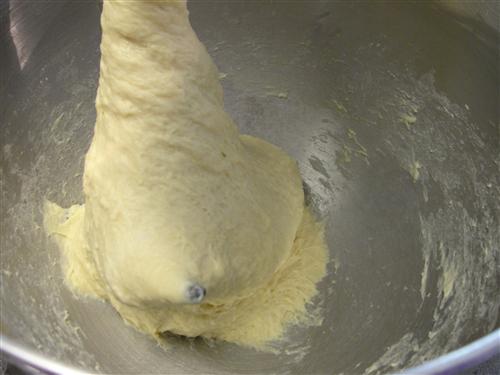
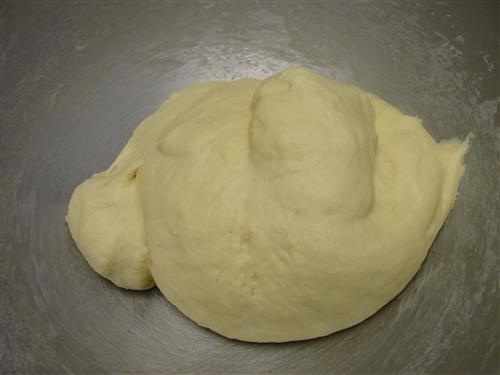
This is what you’re looking for. It should almost completely remove itself from the bowl. I know it it’s a shaggy mess, but a few minutes of kneading will fix that.
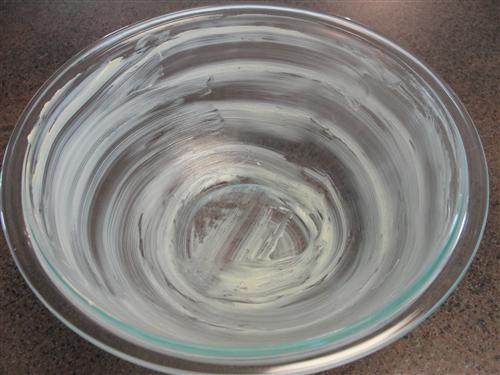
Allow it to knead for 5 minutes or so, or if you’re kneading by hand, probably 10 minutes. Either way, you’ll need to butter a large bowl.
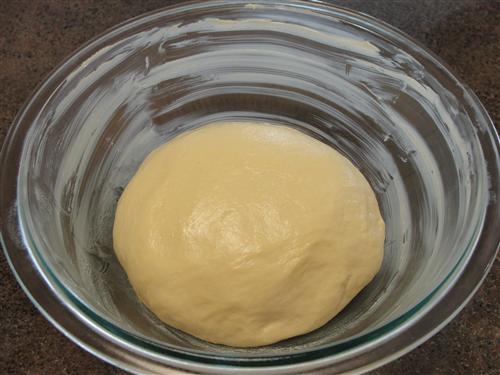
When your dough is ready it should be smooth, elastic, and no longer sticky.
Place it top side down into the bowl, then turn it and flip it over so that it has butter on all sides.
Cover with a damp towel and set aside to rise.
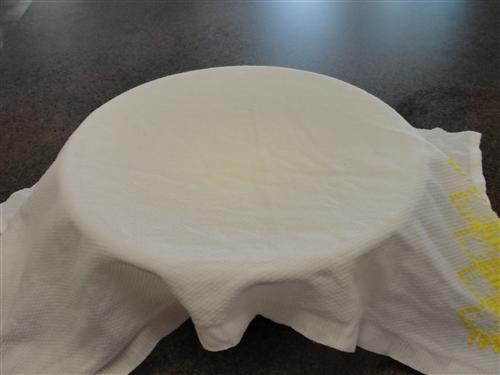
You want it to double in size. That will probably take about an hour, but it depends on the temperature of your house. You’ll know it’s ready when it looks something like this.
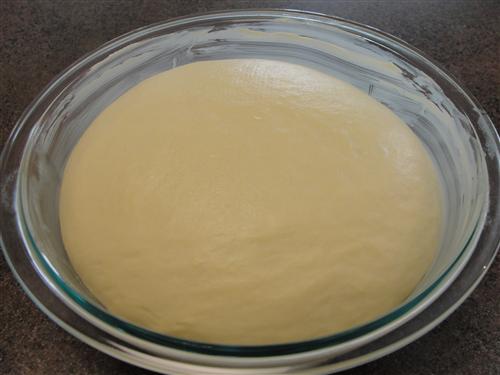
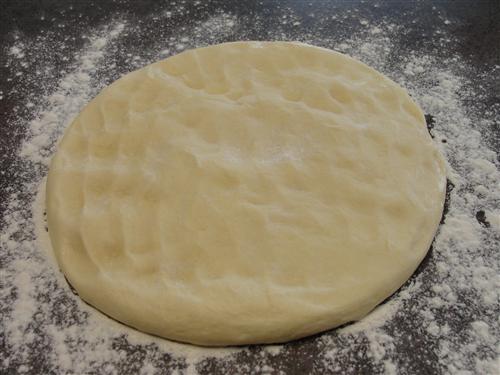
Dump it out onto a floured surface and deflate most of the large bubbles with your knuckles.
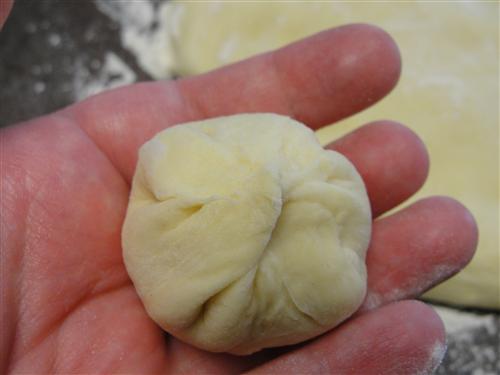
Cut off a small piece of dough and flatten it into a disk.
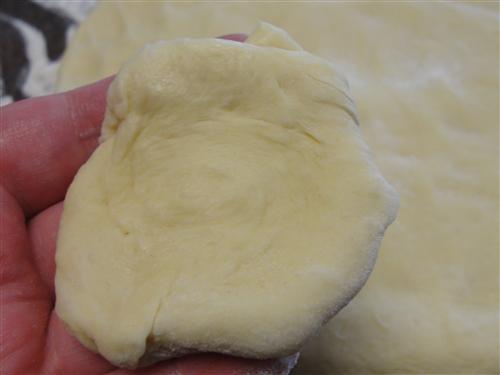
Pull all the edges together to form a ball.
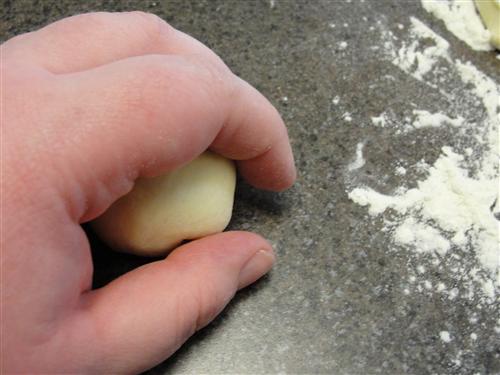
Then place it on an unfloured surface and move it in circles with your hand. You should have a nice smooth ball about the size of a ping pong ball.
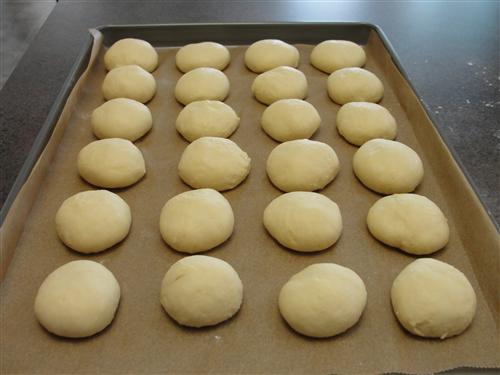
Place it onto a parchment lined sheet pan.
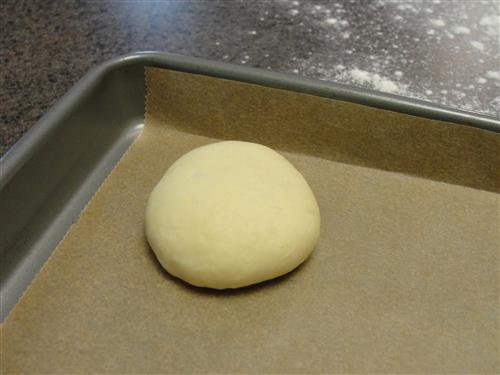
Keep your balls covered with a damp towel as you work so they don’t dry out.
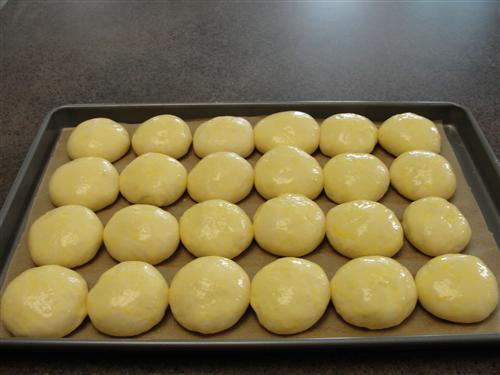
Continue doing this until you have 24 balls of dough. I had a little extra dough left, so you could probably actually get 28 out of this recipe. I just used the extra for a little dessert thing.
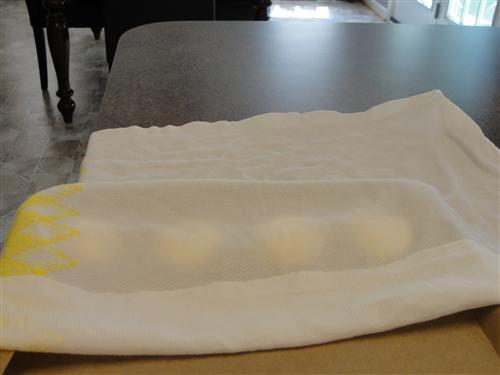
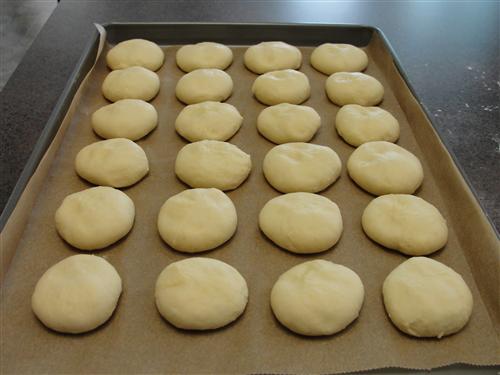
Flatten them out a bit.
Then, as before, cover with a damp towel and set them aside to rise.
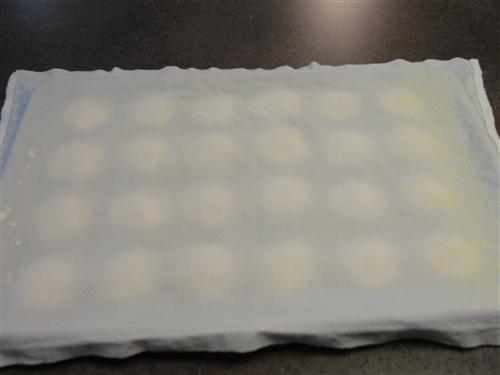
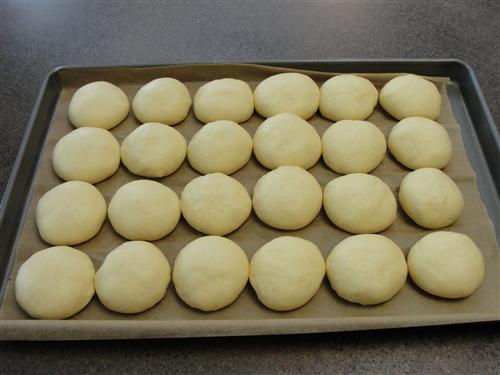
Generally, the second rise doesn’t take as long, so maybe 45 minutes or so. They should be nice and puffy.
This is probably a good time to preheat the oven to 375°. Then, in a small dish, combine an egg and 1 Tablespoon water.
Beat thoroughly with a fork.
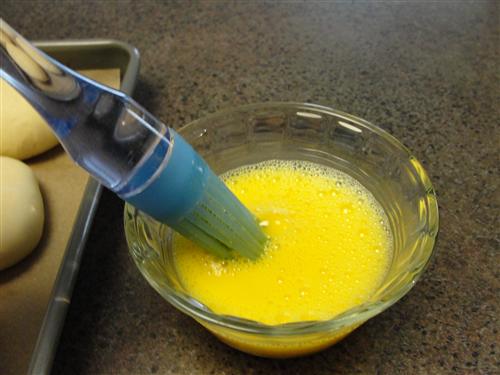
Using a pastry brush, apply a small amount of egg wash to the top and sides.
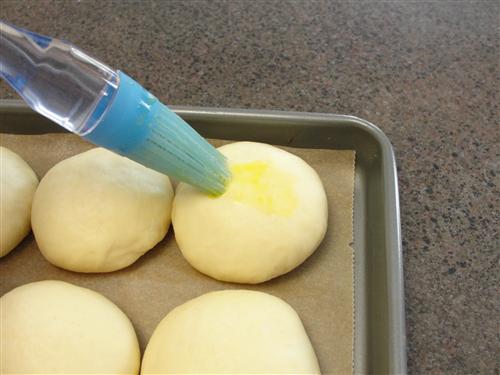
Repeat until each roll is coated.
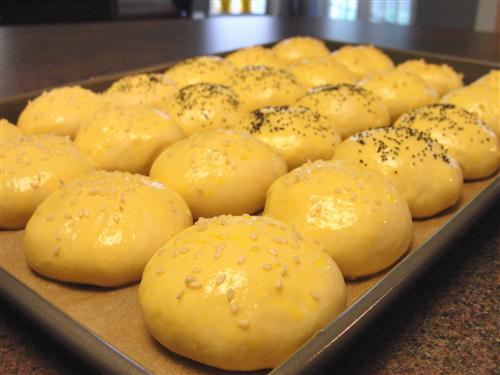
Sprinkle sesame seeds over the top.
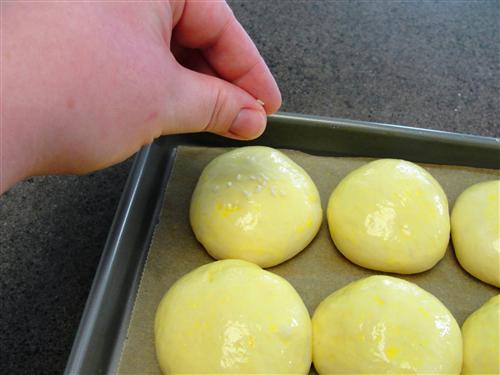
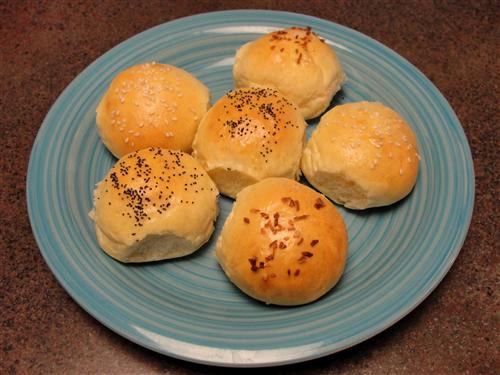
Or, if you’re like me, sprinkle some of them with sesame seeds, some with poppy seeds, and some with dried, minced onion. I did mention I’m slightly decision impaired, right?
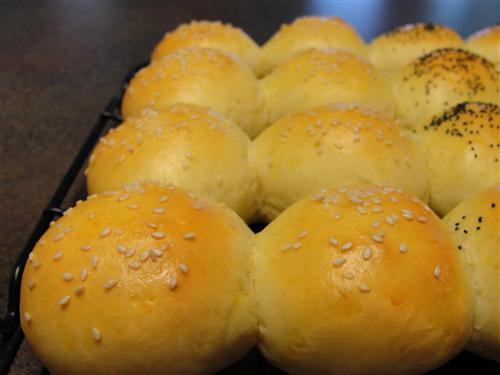
Bake for 15 minutes. They should be nice and golden on top and around the edges. Move them to a rack to cool.
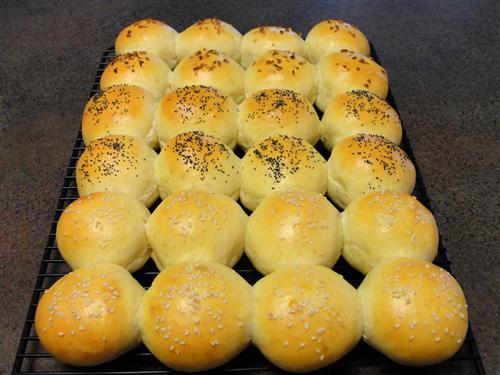
Here are the sesame seed ones
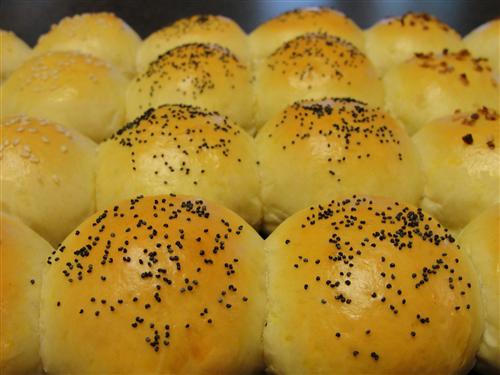
The poppy seed ones
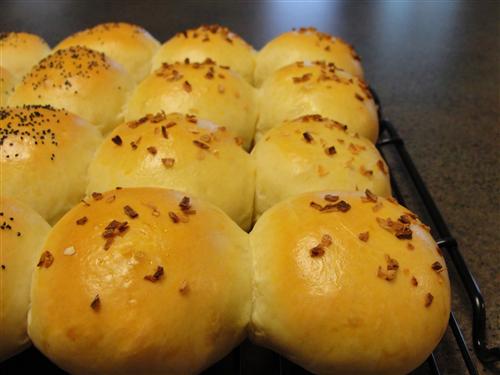
And the onion ones.
Take your pick. They are all fabulous. I have actually done a batch since these and used all three toppings together. They were basically “everything” buns and they were absolutely delicious. Don’t limit yourself to just burgers on these little buns, either. I made Sloppy Joses on some of mine, and next week I’ll be showing you a fabulous Thai chicken slider that is to die for.
What is your favorite thing to put on your buns?