Search
Categories
Have a request?
This form does not yet contain any fields.


    Entries in chocolaty goodness (29)

    Wednesday
    Mar072018

    Dark Chocolate Raspberry Crunch

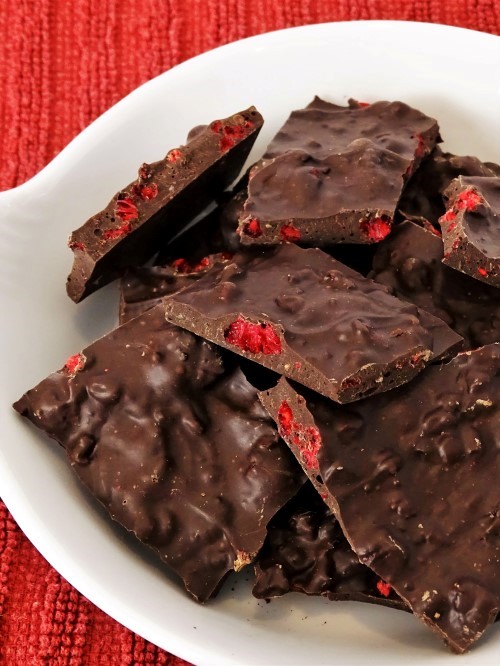
    Recently, Costco started selling this amazing stuff they call Dark Chocolate Raspberry Chia Thins. Basically, it’s thin pieces of dark chocolate freeze dried raspberries and chia seeds. It is incredibly delicious.

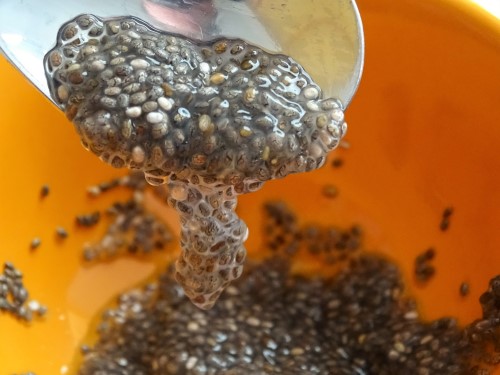
    The only problem is the chia seeds. You see, when chia seeds spend a little time in a wet environment, like your mouth, they become slimy. So although they add a delightful crunch while you’re eating the treat, an hour later, you’re picking little bits of snot out of your teeth.

    This has a way of ruining the whole experience. I had been thinking about making my own with just the raspberries, but I really do like the crunch. I had thought about using chopped almonds, but that’s a different kind of crunch. Then, one morning I was sharing a poppy seed muffin with my mom and I finally had the answer. Poppy seeds could provide the crunchy texture without the subsequent slime problem.

    Here’s what you’ll need: 

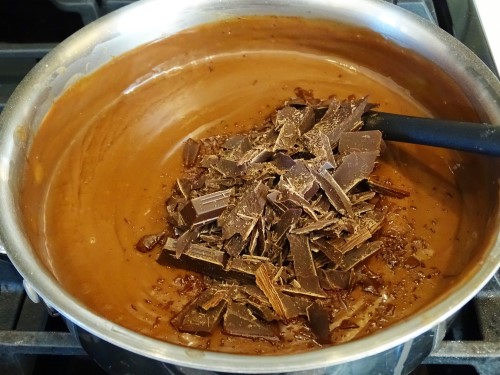
    • Dark Chocolate (just over a pound)
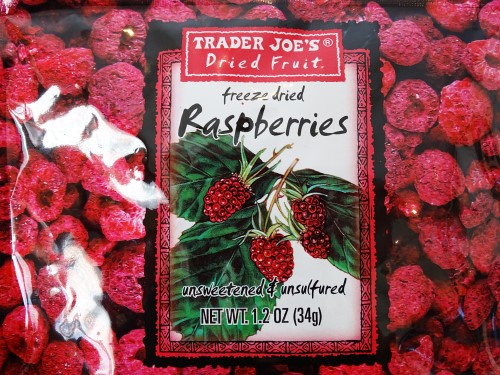
    • 1.2 ounces freeze dried raspberries
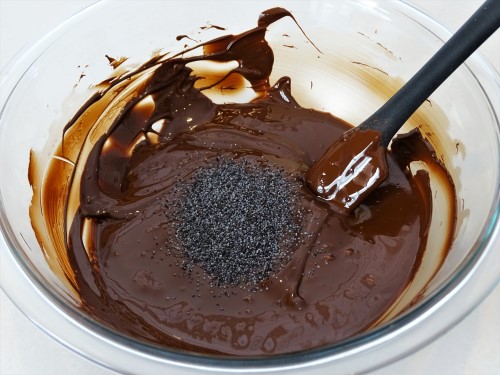
    • 1 – 2 teaspoons poppy seeds 

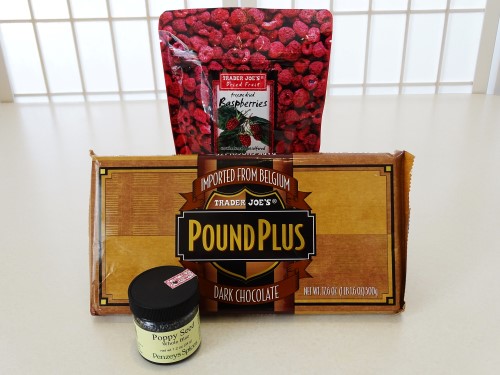
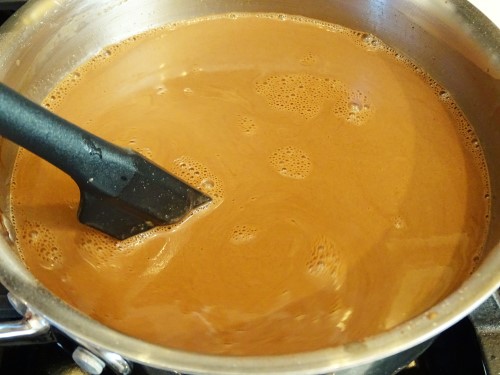
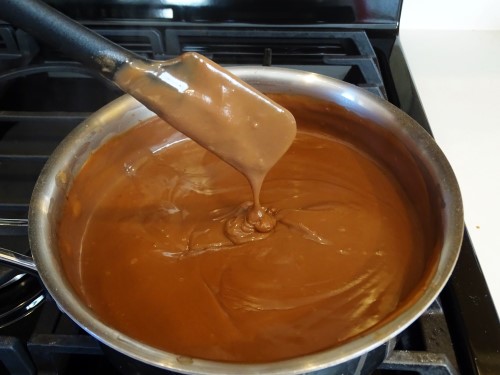
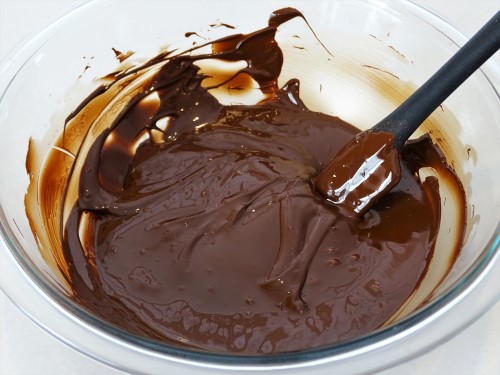
    For the chocolate, I absolutely love Trader Joe’s pound plus bars. I used the whole thing minus about 2 Tablespoons of shaved chocolate that wasn’t needed during tempering. And speaking of, the first thing you need to do is temper your chocolate. I have a whole post about how to do that here. Once you’ve done that, you should have something that looks like this.

    I only used 1 teaspoon of poppy seeds, but if you want more crunch, it can certainly support 2.

    Stir those in, and then it’s time for the raspberries. Once again, Trader Joes was where I got mine. They are a really good source for stuff like that.

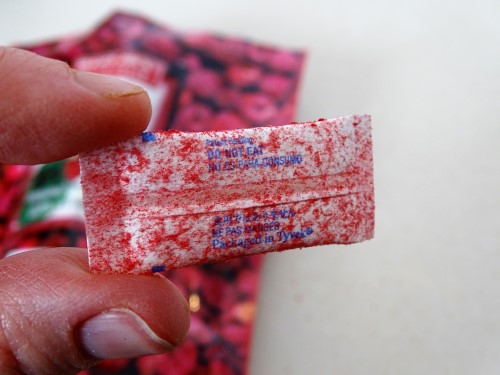
    Crush any of the whole berries inside the bag and remove the moisture thingy.

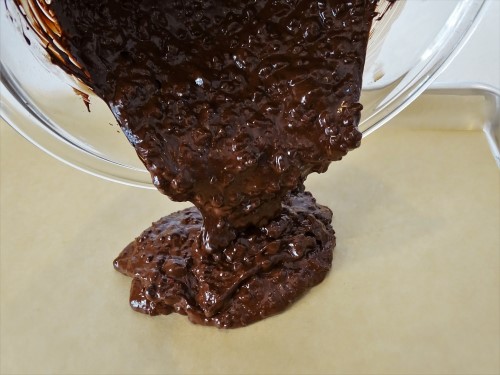
    Then pour the raspberries into the chocolate.

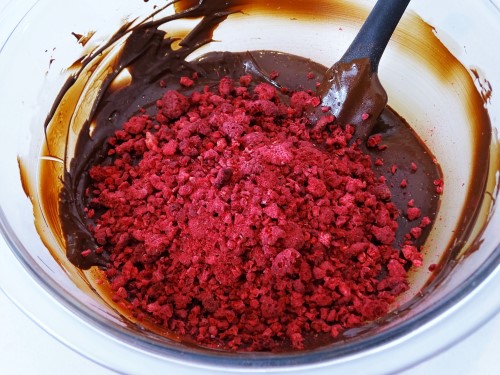
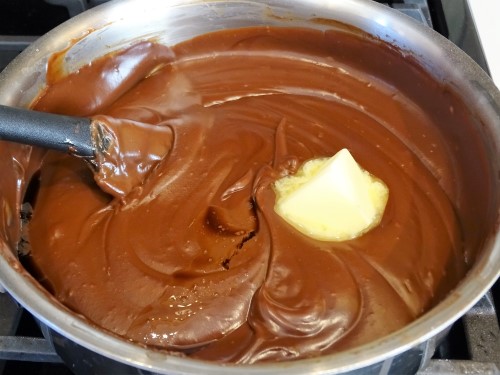
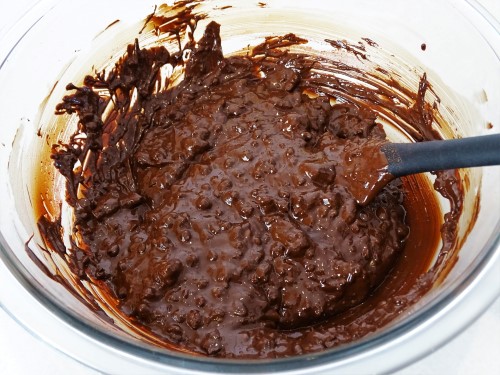
    Stir until everything is completely coated and evenly distributed.

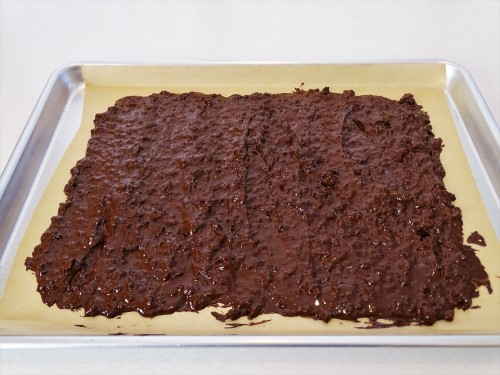
    Pour it only a parchment lined sheet pan (13x18 ish), scraping out every last drop, because trust me, you are not going to waste any of this.

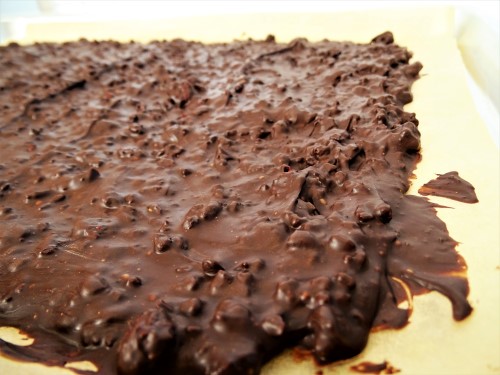
    Spread it until it’s about ¼ inch thick. It will probably just about fill the pan.

    Now, as long as your house is not too warm, just walk away. If you’ve successfully tempered your chocolate, it will soon set and turn back into the consistency it was when you bought it.

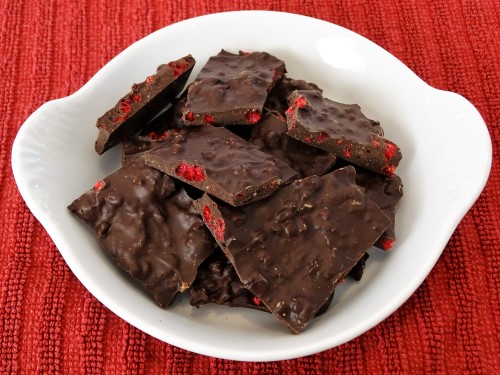
    Give it a few hours to let all those cocoa butter crystals finish doing their thing, and then just break it apart. I got my hands nice and cold under the tap and then dried them thoroughly and snapped the chocolate into small pieces.

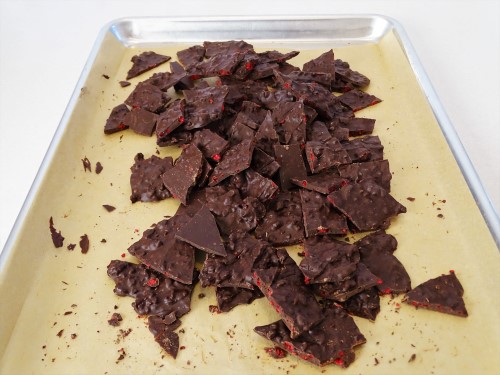
    I just love the bright pops of red! Isn't it beautiful? Prepare to be blown away by how incredibly delicious it is, as well! Costco’s got nothin’ on me!

    It’s possible I’ve started something dangerously addictive. I’ve thought of all sorts of things you could do this with. I might try a white chocolate and mixed berry one next. You could use any variety of chocoate, add chopped coconut chips, any kind of nut… I’m afraid the possibilities are endless! What kinds of things do you think would be yummy?


    Tuesday
    May032016

    Chocolate Cream Pie Done Right

    Recently, I was having a serious craving for chocolate cream pie. Easy enough, right? Just drop into the nearest diner and pick up a slice. Yeah, not so much. After much googling and wracking of my brain, I eventually decided I would have to make my own. I couldn’t find a place locally that I could be sure wouldn’t disappoint. Since I’d never made a chocolate cream pie before, I needed to do some research. Off to Pinterest and Google, then. For some reason, every recipe I looked at had either cocoa or chocolate. When given the opportunity to use both, why on earth would you pass it up?? I mean, we’re making CHOCOLATE cream pie, after all. Now chocolaty pudding pie, or chocolate-ish custard pie. Well, I went all in, and boy did it pay off.

    Here’s what you’ll need: 

    • 1 pie crust
    • 1 cup sugar
    • ¼ cup cornstarch
    • ¼ cup cocoa
    • ½ teaspoon salt
    • 4 large egg yolks
    • 3 cups whole milk
    • 4 ounces dark chocolate
    • 2 tablespoons butter
    • 1 teaspoon vanilla 

    Before you get started on the filling, you’ll need a pie crust. I used a frozen one form Trader Joes, and it was fantastic. If you don’t want to go to the trouble of making your own, I highly recommend theirs. Either way, the crust needs to be blind baked until it’s nicely golden and then cooled completely. Once that’s done, go ahead and chop your chocolate. Once again, I turned to Trader Joes for that. I love their pound plus bars.

    Put that aside, and into a medium sized saucepan, sift the cornstarch and cocoa.

    Stir that together with the sugar and salt.

    Separate 4 eggs, placing the yolks in bowl. Give them a quick whisk.

    Here’s another place where I parted company from all the recipes I found. Even my own recipes, in the past, have always said to heat the milk and then temper the yolks before adding them to the mixture. At some point, my brain said, “if you’re going to bring it to a boil once the eggs are in anyway, why not just add them in the beginning?” It seemed like sound enough logic to me, so I did it, and it worked beautifully. So, go ahead and add the egg yolks to the milk and whisk that thoroughly.

    Pour that mixture over the dry ingredients. Stir everything together and turn the heat to medium.

    At first, it’s going to be a bit messy, but don’t worry.

    As it warms up, it will sort itself out. Just keep whisking and stirring. I like to alternate between a whisk and a silicone spatula.

    Continue stirring until it reaches a boil and becomes nice and thick, then turn off the heat.

    Add the chopped chocolate and stir until it’s completely melted and incorporated.

    Next, add the butter and vanilla. And yes, more stirring.

    Now, just to be safe, pour the pudding through a mesh strainer. This will ensure that you have no lumps (cornstarch, cocoa, curdled egg, whatever). It’s quite thick, so you’ll have to stir it to get it through the strainer.

    And don’t forget to scrape everything off of the underside. There’s lots of deliciousness stuck there.

    Now, pour the finished pudding into the prepared pie crust and level it out on top.

    Place a piece of plastic wrap directly on the surface. Allow it to cool, and then refrigerate it for at least 3 or 4 hours. Overnight would be even better.

    When the pie is nice and cold, whip some cream. 

    • 1 ½ cups heavy cream
    • ¼ cup powdered sugar
    • 1 teaspoon vanilla 

    Whip until it’s nice and stiff. Although, be careful not to go too far. I’ve never actually had it happen, but apparently it will turn to butter at some point.

    I piped the whipped cream onto my pie, but you can just spread it if you’d prefer.

    Now, to make it pretty, top it with some finely grated chocolate. Just warm the chocolate slightly between your hands, and grate it on the finest side of a box grater. How gorgeous is that?

    This pie is creamy, chocolaty, and delicious. Hubby said it was the best pie he’s ever tried. That’s a huge compliment, because he’s not a big fan of sweet things, and he’s also not shy about telling me what he really thinks of my cooking. I will definitely be making this pie again.

    What food do you have to make yourself if you want it done right?