Un-Corned Beef and Cabbage
 Taneasha
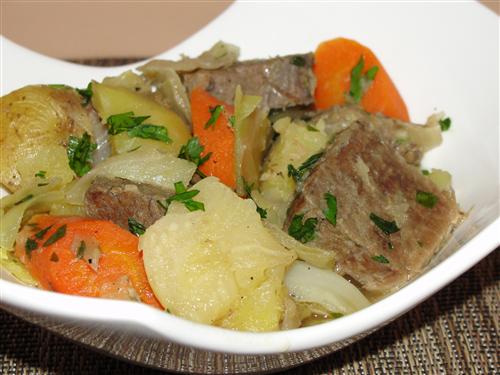
Ok, so I know the traditional dish for St. Patrick’s Day is corned beef and cabbage, but I don’t actually like corned beef, so I just use a plain brisket. That being said, you can certainly follow this same recipe using a brisket that has been corned if you prefer.
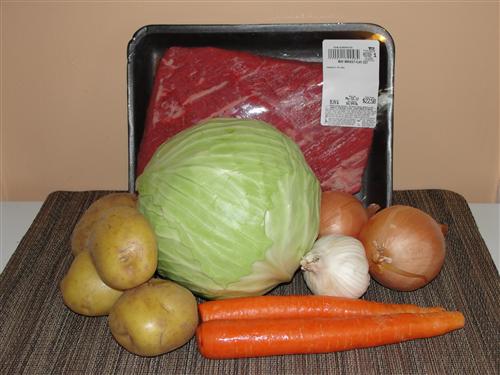
Here’s what you’ll need:
Brisket, about 3 lbs.
3 medium onions
2 pounds of potatoes
5 cloves of garlic
2 carrots
1 head of cabbage
3 teaspoons sea salt
1 teaspoon pepper
Parsley
Water
Since this recipe calls for a fair amount of salt, I really recommend getting something decent. It doesn’t have to be extravagant, but I’d definitely stay away from the stuff in a blue cylinder that you can get for like a buck. Now, sprinkle 1 teaspoon of said salt on one side of your brisket.
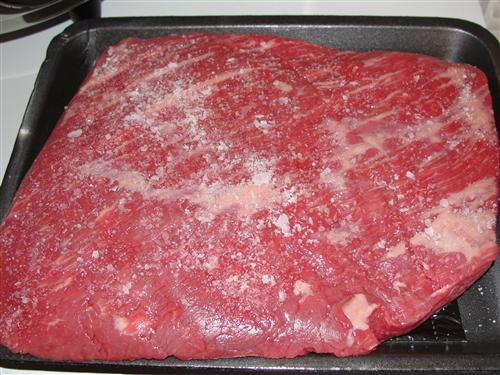
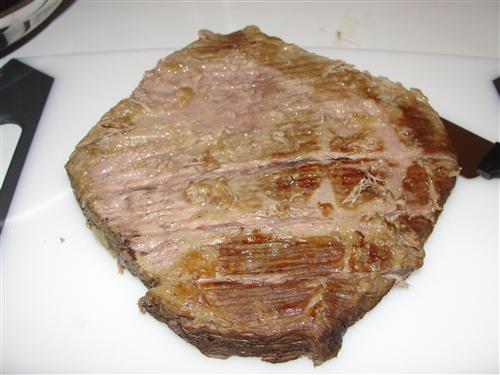
I know, it sounds like a lot, but this is going to end up being a big pot of food by the time we’re done. Heat your pan to medium high and add 2 Tablespoons of vegetable oil. I’m using an electric skillet (I seriously love this thing) but you can certainly do this on top of the stove in a large pot. When the pan is hot, carefully place the brisket, salt side down. Sprinkle another teaspoon of salt over what is now the top. It’s ok if you see a little smoke, you want a good sear. It’ll probably take only a minute or two. You’ll know it’s ready when it lets go of the pan, and you can easily turn it. It should be nice and brown along with the flavor residue that’s forming in the pan.
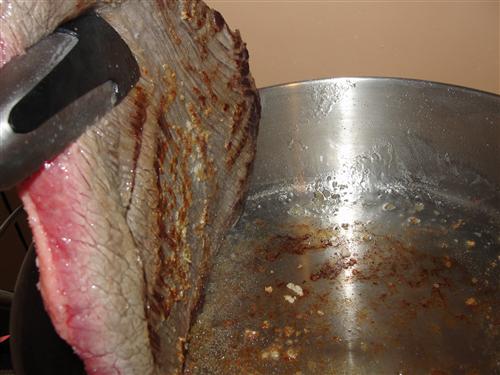
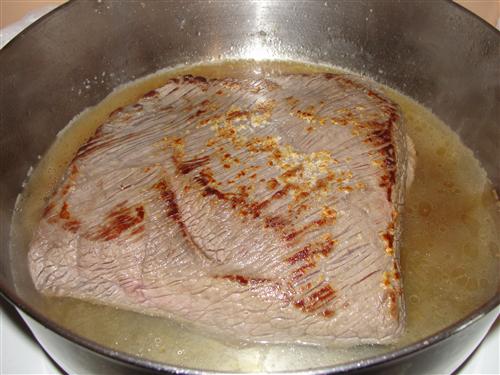
When the second side is nice and seared as well, add enough water to the pan to come about half way up the side of the roast. Make sure you lift the roast a bit to allow the water to go underneath it. See how it’s already a bit brown? That’s flavor baby!
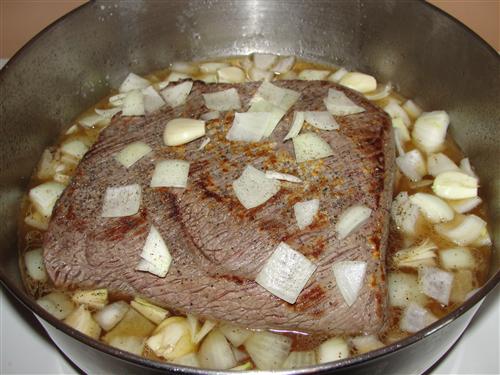
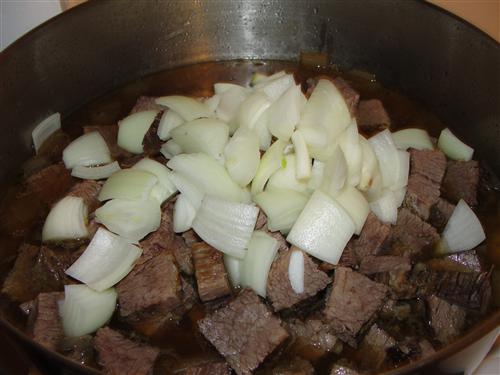
Forgive me if I’m slightly giddy. I’m getting ready to fly home to see my mommy! And the rest of my family and friends in Utah for the first time since I left 10 months ago, and I’m super excited! Anyway, once the water is in, add 2 of the onions, the garlic, and pepper. I like a large dice on the onion and I just threw the garlic cloves in whole. They’re going to cook long enough they’ll just basically fall apart.
Now, cover the brisket and leave it to cook on medium low heat for about 2 ½ hours. Just check on it every 30 minutes or so to make sure there’s still water in the pan. When the time is up, remove the roast from the pan. It won’t be falling apart tender yet, which is ok because it’s still going to cook some more.
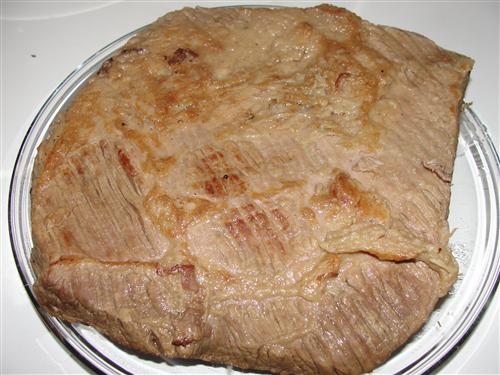
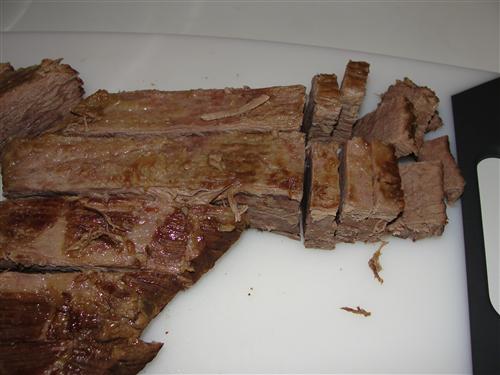
Cover it and allow it to cool while you cut up everything else. After it’s had a good 20 minutes or so to rest, cut it into bite size-ish pieces. To make sure they’re as tender as possible, first cut the brisket into strips in the direction of the grain.
Next, slice each of those strips into half inch pieces, this time you’ll be going across the grain.
Throw the pieces of meat back onto the cooking liquid.

Add the third onion.
The diced potato. I used yukon golds, so I just left the skin on.
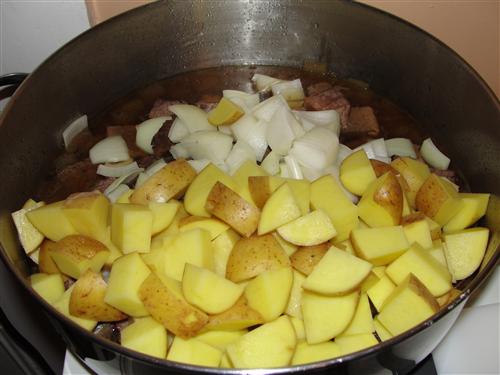
And on top, goes the cabbage. I know, it’s piled up, but it will cook down.
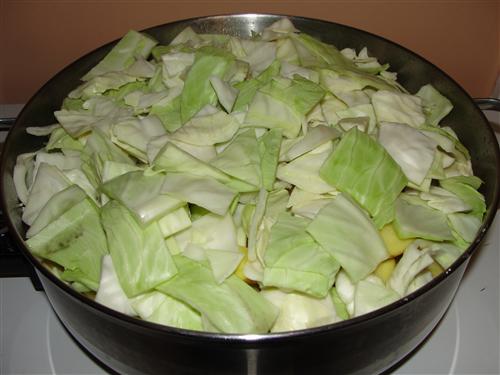
Sprinkle on the last teaspoon of salt and put on the lid. With the heat on medium low, just walk away for 20 minutes. Don’t stir, don’t peak, just leave it alone. After 20 minutes, remove the lid.
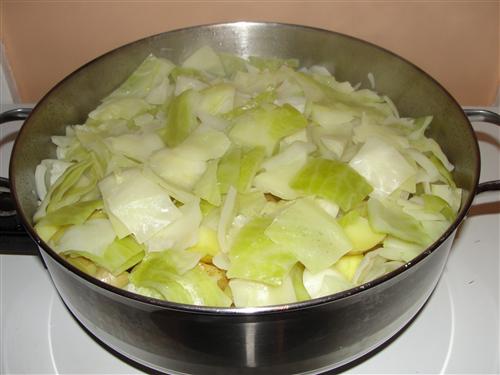
Look at that, the cabbage is already wilted. Now stir everything together and add the carrots. Put the lid back on and leave it for another 20 minutes.

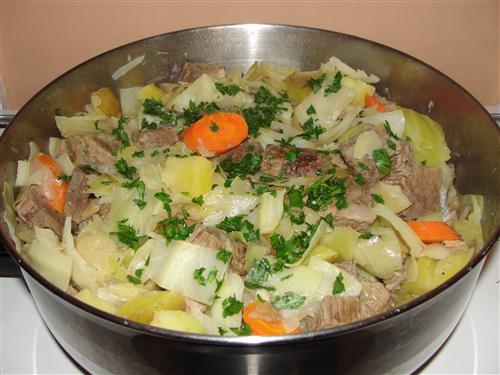
During that time, chop up some parsley. When the 20 minutes is up, stir again. Turn off the heat, sprinkle over the parsley, put the lid on and leave it for 10 more minutes.
I know corned beef and cabbage is usually served with everything separate, but I kind of like it just all piled in a bowl with a nice pool of that delicious cooking liquid.
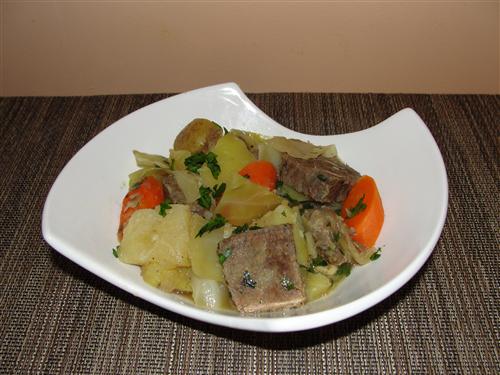
By now the brisket will melt in your mouth, the potatoes are nice and soft, the carrots perfectly tender, and the cabbage sweet and delicious. You are going to be blown away by what an amazing meal you’ve made, and in one pot, no less.
What are your St. Patrick’s Day traditions?
Taneasha, dinner, holiday, one pot meals