Awesome Avocado Dip
 Taneasha
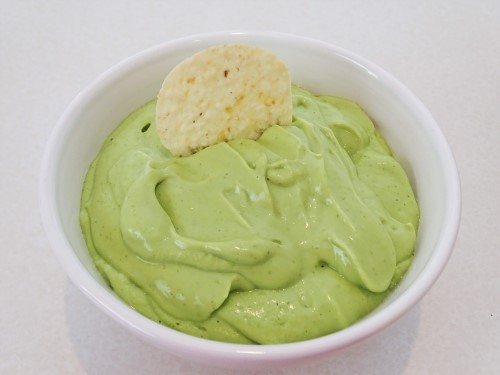
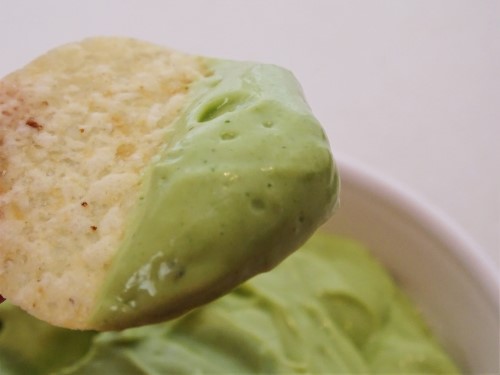
You know how Mexican restaurants always serve chips and salsa while you’re waiting for your food to come out? Well, awhile back, I went to a place that served a delicious green dip along with the salsa. It was tangy and creamy and I loved it. I swore I was going to figure out how to make my own. Well, I have finally gotten around to it.
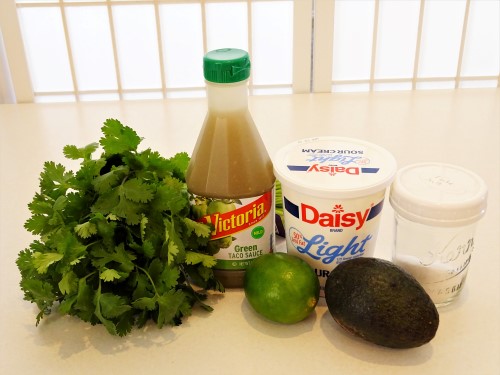
Here’s what you’ll need:
- 1 medium avocado
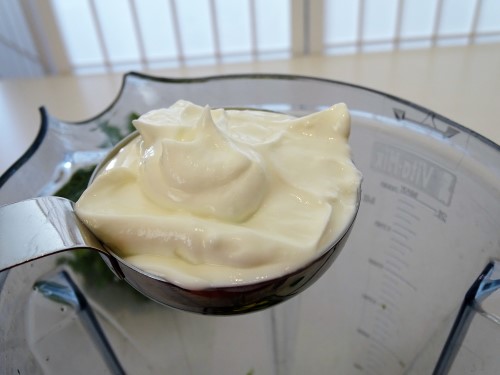
- ¼ cup sour cream
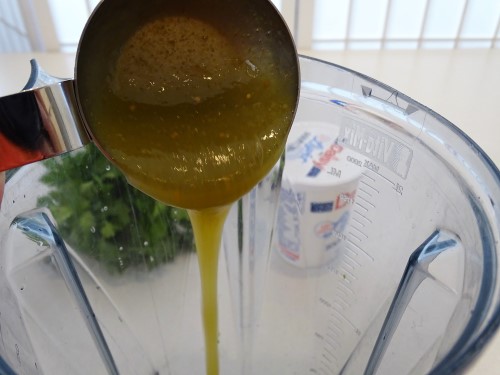
- ¼ cup green taco sauce
- 1 Tablespoon fresh squeezed lime juice
- ½ teaspoon salt
- Handful of cilantro leaves
This recipe is so quick and simple, you are going to love it. First up, the avocado. Cut it in half around the pit. Then to remove that, tap it firmly with your knife to embed the edge of the blade.
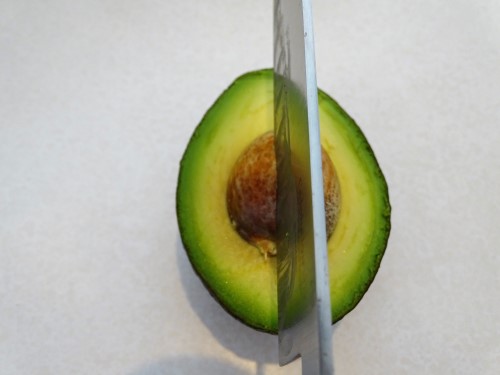
Then just twist gently and it should come right out.
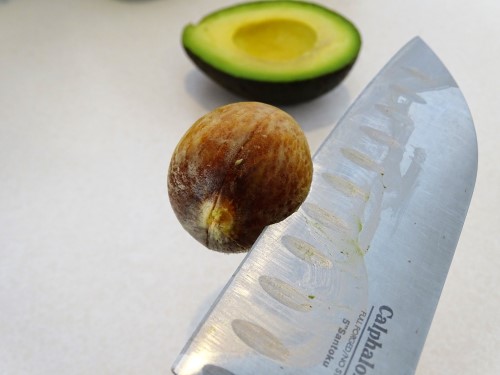
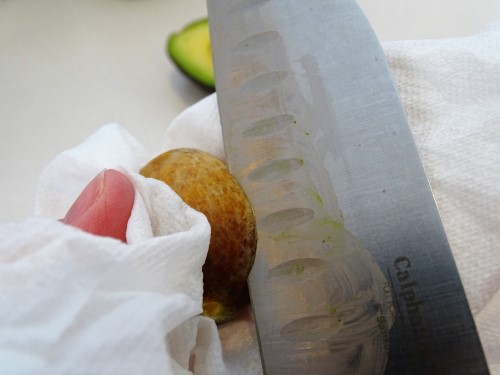
The pit is super slippery, so to get it off of the knife, wrap it in a paper towel and it should pull off pretty easily.
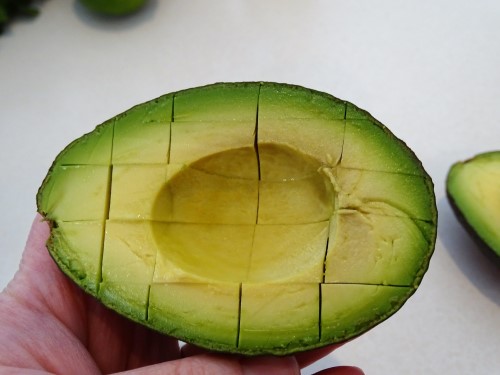
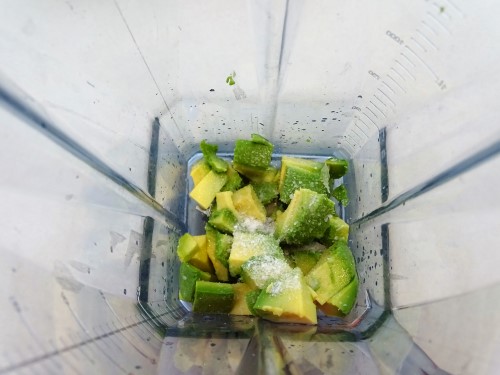
It isn’t strictly necessary, but I like to cut the avocado into little cubes before it goes into the blender so you don’t end up with a big chunk of it hiding under the blade. Using your knife, carefully slice it right inside its shell.
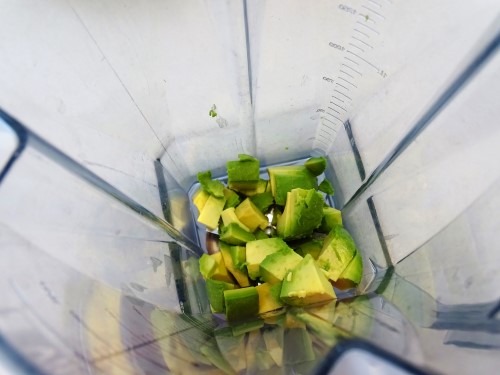
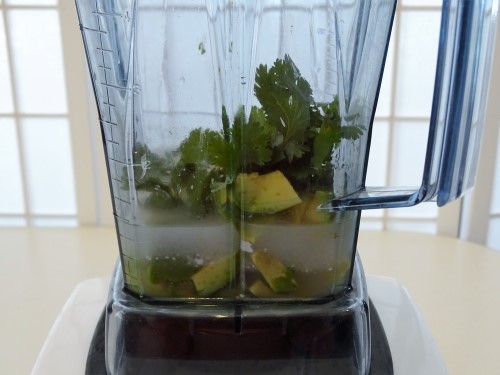
Scoop or squeeze the cubes into your blender.
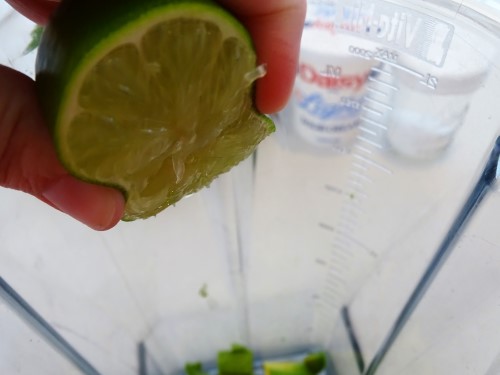
Next up, the lime juice. Mine was really juicy, so I actually only ended up just using half. You’re shooting for about 1 Tablespoon of juice.
After that, add the salt.
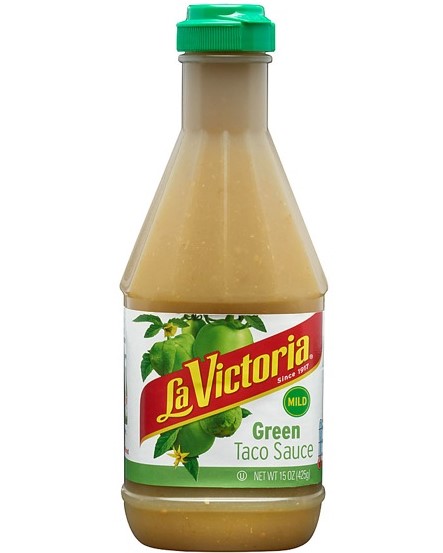
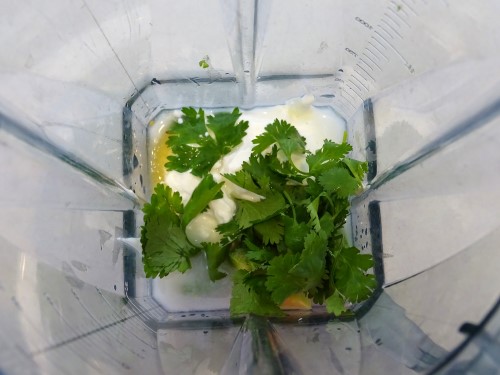
I like La Victoria’s green taco sauce. I’m sure any kind of green salsa will work just fine if you’d prefer.
My sour cream was a bit of a heaping measure. As I’m sure you’ve guessed, this is not rocket science.
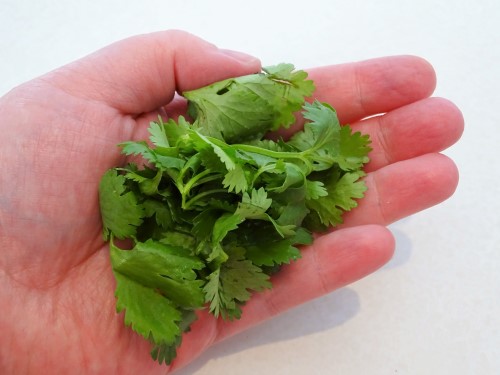
Last is the cilantro. I know there are some serious cilantro haters out there, so if you’re one of them, go ahead and leave it out. Personally, I love the stuff. It’s strong though, so a little goes a long way. Shoot for something like this.
Throw that into the blender.
Now, just add 2 Tablespoons of water, and that’s it!
Start the blender at a low speed and slowly increase it.
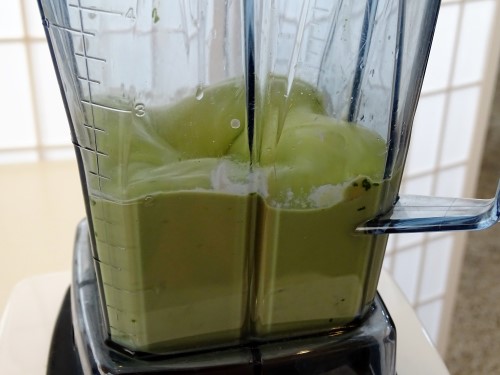
In probably 30 seconds, you’ll have a dip that is amazingly delicious!
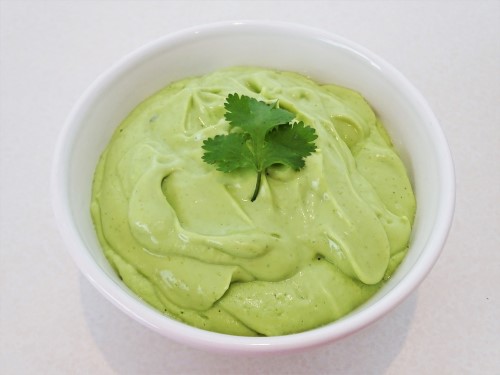
And the cool thing is, unlike guacamole, which turns brown in almost not time, this dip stays a nice, bright green for days in the fridge. It’s fantastic!
What is your favorite thing to do with avocados?


