Can't Buy Me Luuu~huv.
 Taneasha
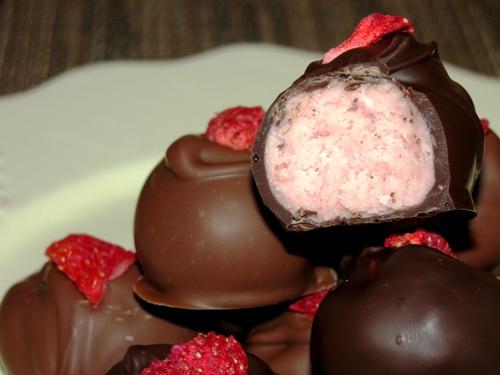
The Beatles were right. Ok, those words can’t have been uttered often, but it’s true. Money can’t buy you love. Part of me despises Valentine’s Day, and that’s exactly why. I hate that love has become so equated with commercialism. Don’t go out and buy overpriced chocolates for your sweetie. Instead, make your own. I promise they’ll cost less, they’ll taste better, and they’ll mean a heck of a lot more. If you want it to be really special, why not make the candy together so you have an experience, a memory, and some fun time together? Besides, who knows what chocolate dipping could lead to. *wink, wink*
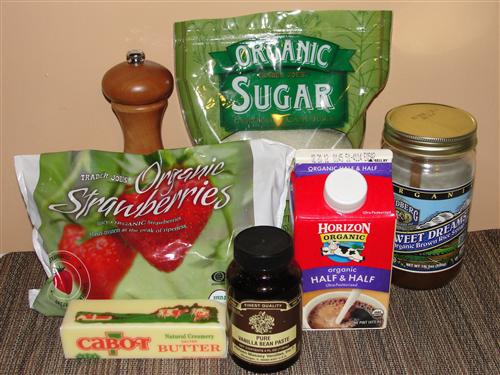
So here’s what you’ll need:
2 cups sugar
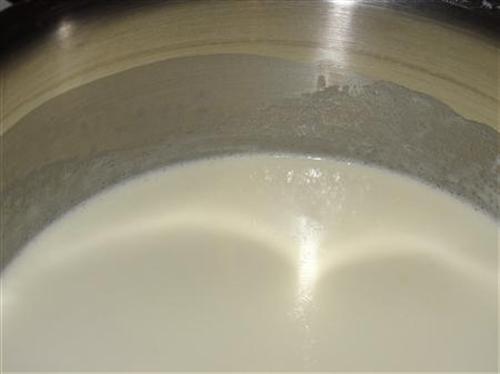
½ cup half & half
1 cup strawberries
4 Tablespoons butter
2 Tablespoons syrup
½ teaspoon salt
1 teaspoon vanilla
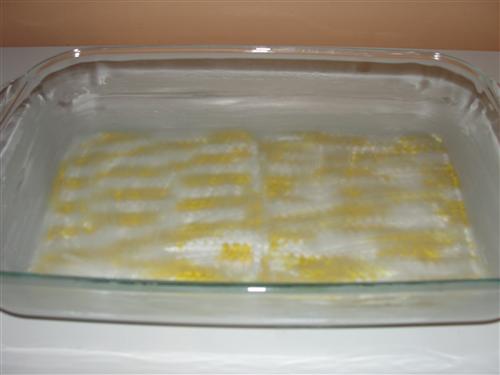
The first thing you need to do is butter a 9x13 glass pan and set it atop pot holders.
Now, throw your strawberries into the blender.
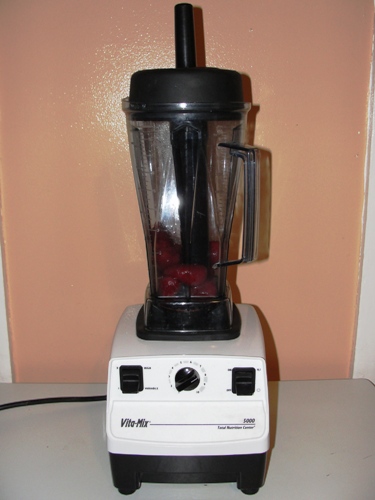
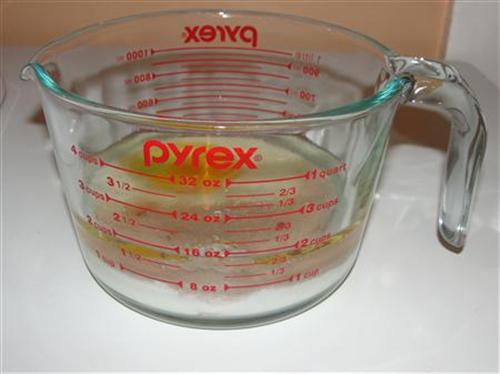
I’ve heard a lot of people ask if a Vita Mix is really worth the money. I have to say, if you regularly use a blender, and if it’s within your budget, it’s worth every penny. So, puree your strawberries until they’re mostly smooth, but I like there to still be seeds. Measure out ½ cup of the puree. ¾ - 1 cup of whole strawberries should get you pretty close to that.

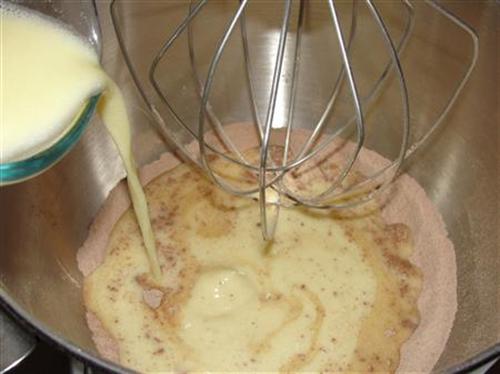
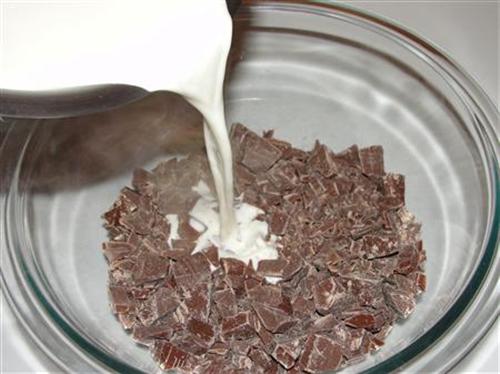
Throw everything into a 2 ½ quart or larger saucepan.
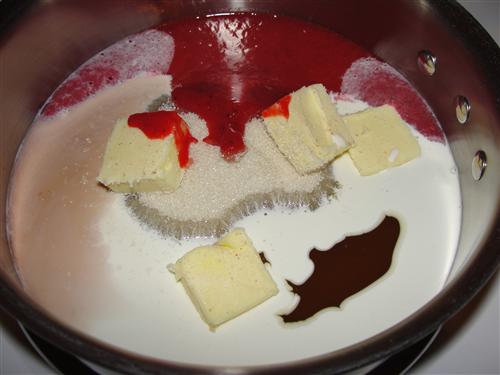
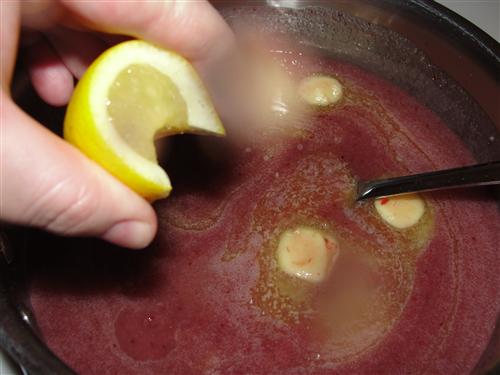
Heat over medium low heat and stir everything together. At this point, I decided a little squeeze of lemon juice would be a good addition.
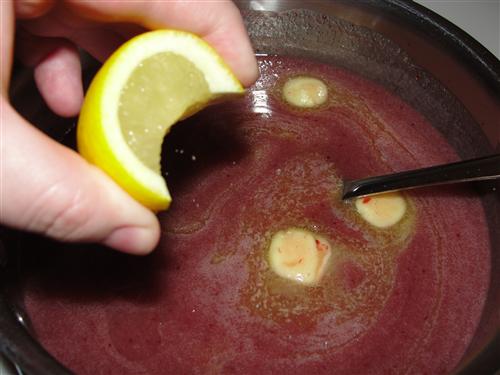
And squirted the camera lens.
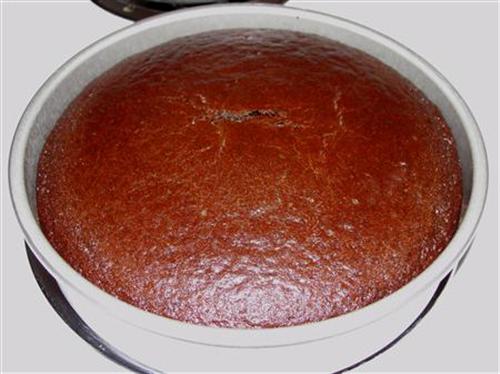
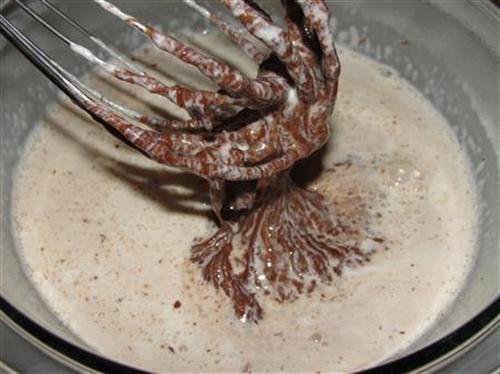
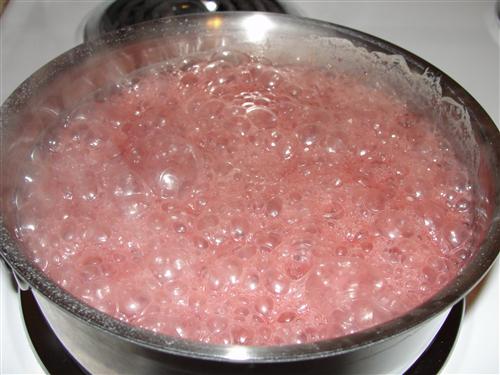
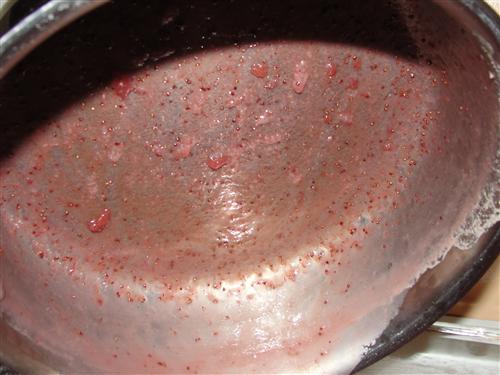
My poor camera. It’s had all manner of food on it, not to mention steam, water, and it’s been dropped on the kitchen floor a few times. Ok, so keep stirring until your sugar is completely dissolved. You want this to happen before the mixture reaches a boil. If it’s getting too hot and it’s still grainy, turn the heat down. Once it’s all dissolved, you can increase the temperature to medium or so, but continue to stir constantly until it reaches a boil. Once it’s boiling, pop the lid on and set a timer for 3 minutes. This is a good time to get a little dish of ice cold water. You also need to wash all the crystals off of your spoon or get a clean one out. After 3 minutes, remove the lid. It should look something like this:
Time to start testing for temperature. Get a little bit on your clean spoon, and drop it into the cold water.
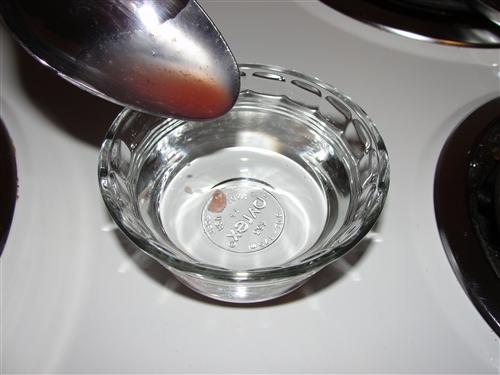
When it reaches the right temperature, you’ll just barely be able to gather it into a ball and pick it up. It won’t hold its shape.
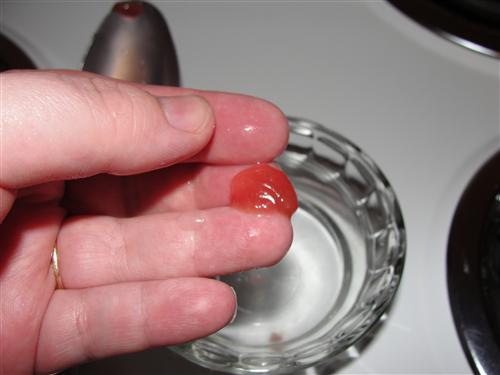
While you’ve got it, rub it between your fingers to make sure it’s completely smooth. If it’s not, you need to add ½ cup of water to your mixture and start the cooking process over again. Pour the very hot mixture into your waiting pan.
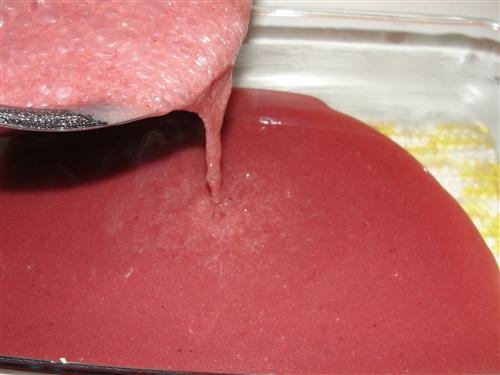
This is why it needs to be on hot pads, or a folded towel. It’s extremely hot. There will be lots of little bits on the bottom of your pan, but resist the urge to scrape it.
Now just walk away. It needs some time to cool. You could wash up or put in some laundry. Me? I went to hang out with my little buddy. But I had to annoy him first by taking his picture. How could I resist? Look at him all cozy in his new bed with his blanket and his dog.

Ok, so it’s possible I could be slightly biased. Anyway, after 15 or 20 minutes, you’ll want to start checking the temperature. You want the bottom of the pan to still be warm, but not so hot that you can’t hold your hand there comfortably. Now, prepare for an arm workout. With a sturdy spatula, start pushing it into the middle of the pan.

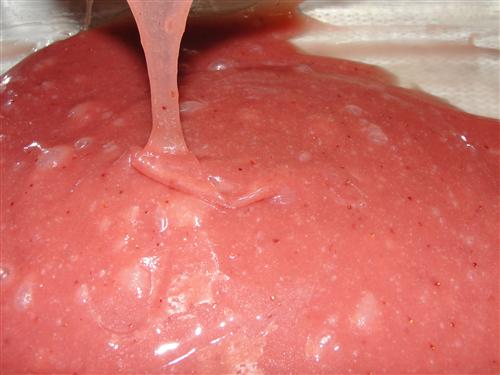
It will be really sticky and stretchy at this point.

Just keep moving it around. Stir, scrape, drizzle… whatever you feel like. Just keep it moving. It will slowly start to turn a little opaque. There will be big bubbles appearing as you stir… don’t worry about it.
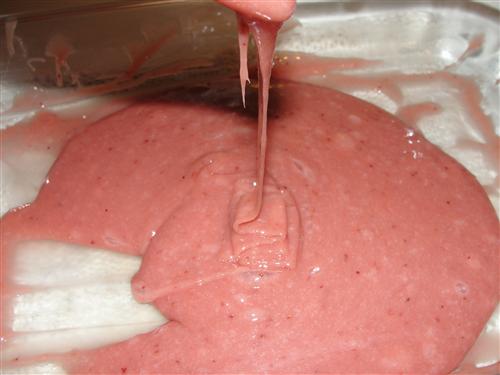
Still very stretchy, and it just kind of runs and doesn’t hold any kind of shape. Keep stirring. In this picture, you can see it’s becoming even more opaque, but it’s still stretching and running. Not there yet.
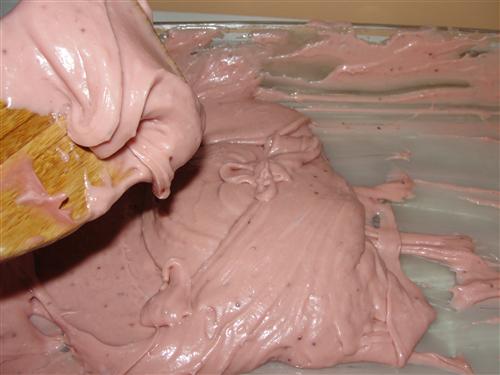
This is what we’re looking for. Still soft and pliable, but no longer runs or stretches. See how it’s holding its shape on the spatula?
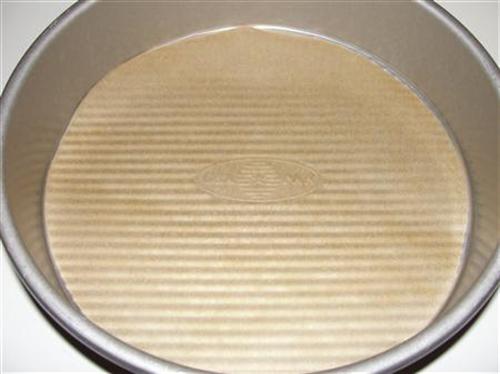
It could take a long time to get to this point. Don’t get discouraged. When my feet and back got tired, I went and sat down with it and just kept moving it around. It doesn’t have to be quick stirring. Just scrape it around slowly and lift it up and allow it to run back onto itself. It will get there eventually. It probably took 30 – 45 minutes for mine to finally fudgify. Yes, fudgify. That’s basically what we have here, after all. Strawberry fudge. Now, spread it into a parchment lined pan.
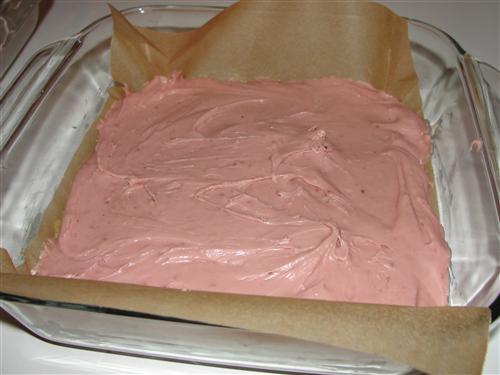
At this point, it needs at least a few hours to finish the reaction that’s happening inside. Just cover it, and after 2 or 3 hours pop it into the fridge. You can leave it over night, or start dipping, once it’s nice and cold. When you’re ready to dip, pull the whole thing out of the pan, and place it onto a cutting board. I like to use a pizza cutter for this, but you can use a big knife if you prefer.
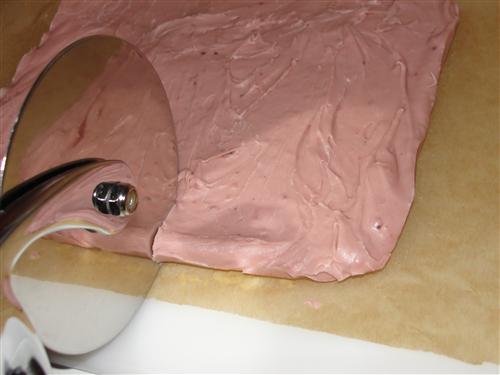
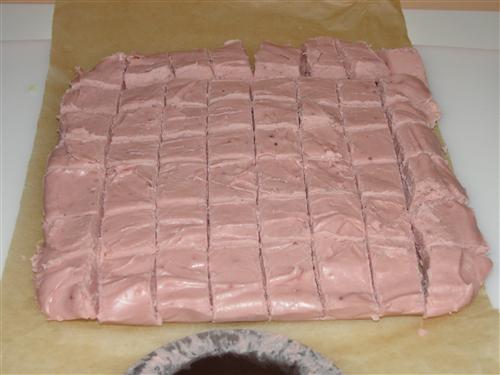
Cut it into small squares. They should be small, maybe 1 inch squares. They’re going to get bigger when you coat them in chocolate, and you want each chocolate to be about two bites.
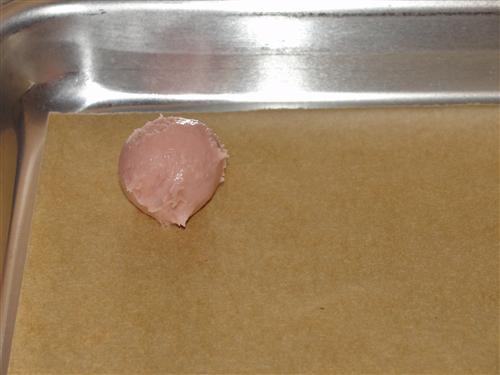
Place one piece into the palm of your hand.
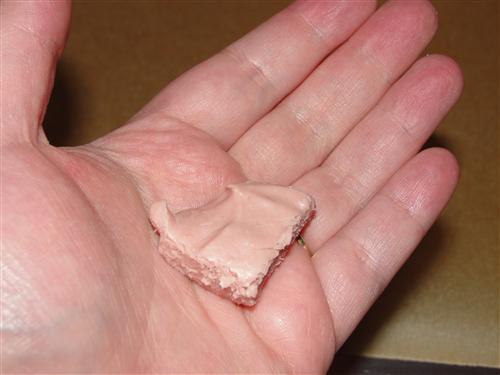
Roll it into a ball and place it on another piece of parchment. You want to do it quickly because the longer it’s in your warm hands, the stickier it will become. (That’s what she said!) (Sorry about that. I know it was crude, and this isn't one of Seeley's posts, but I just couldn’t resist)
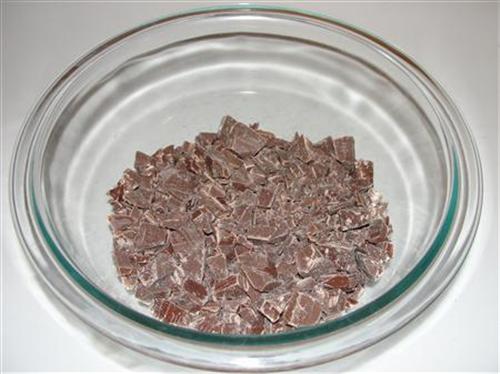
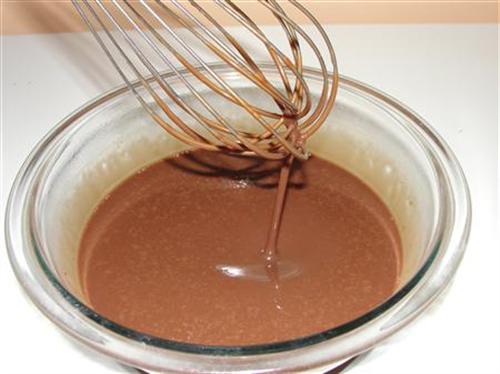
Ok, onto the chocolate. I like to chop up good chocolate bars. (Thank you Trader Joes for your fabulous pound plus bars) Chocolate chips will work fine, though. Just microwave whichever you choose in a small glass bowl for 30 seconds at a time, stirring well between each. It should only get just barely warm enough to melt. Throw in one strawberry ball at a time. Roll it around and allow the excess to drain. A fork works well for this.
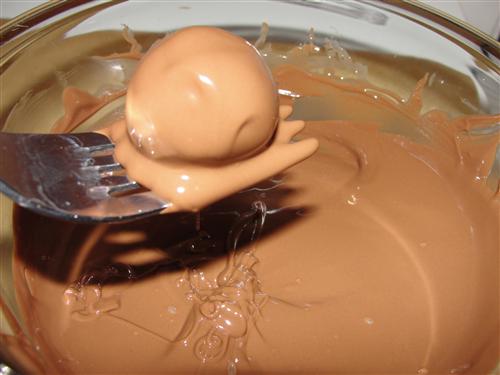
Carefully drop it onto another piece of parchment.

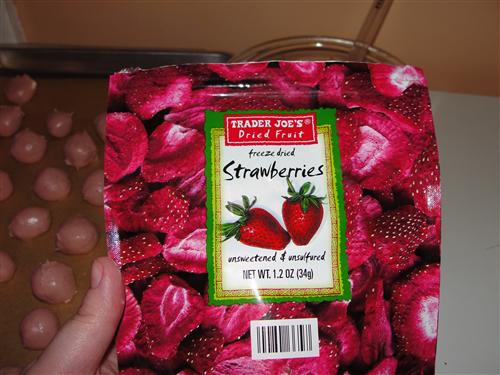
Oops. I obviously didn’t let that one drain long enough. See the little puddle around the bottom? Now, to make them pretty, I decided to place a little piece of freeze dried strawberry on each one.
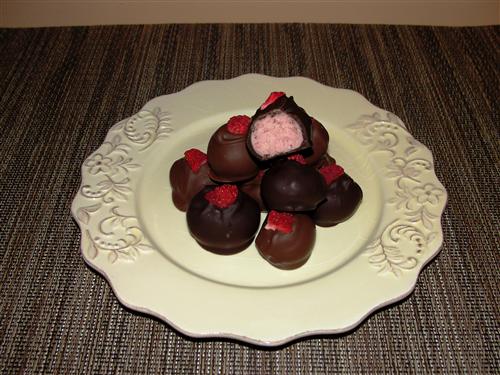
See how cute they are?
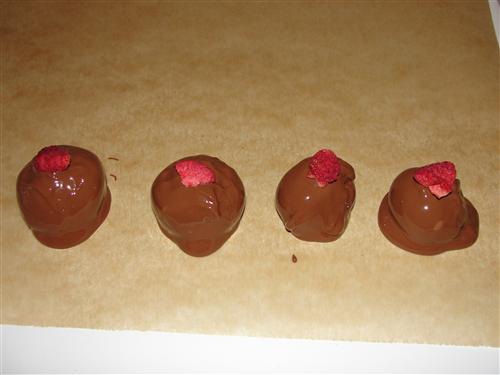
I decided to do some milk chocolate and some dark. One more advantage to making your own, you can do it however suits your mood. You could even dip some of them in white chocolate.
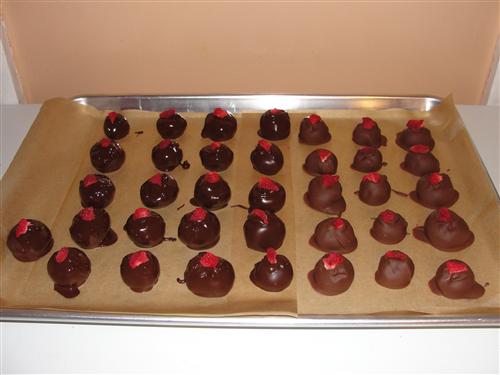
I used imported, high quality chocolate, organic strawberries, organic sugar, and organic brown rice syrup, and this whole pan of chocolates still only cost me about $5 to make. You won’t find quality ingredients like that in even the priciest candy shop, and for $5, you’d be hard pressed to even get a half dozen pieces. So don't buy love this year. Make it!
What are you going to do with your valentine this year?