With Caramel, Even Failure is Delicious
 Taneasha
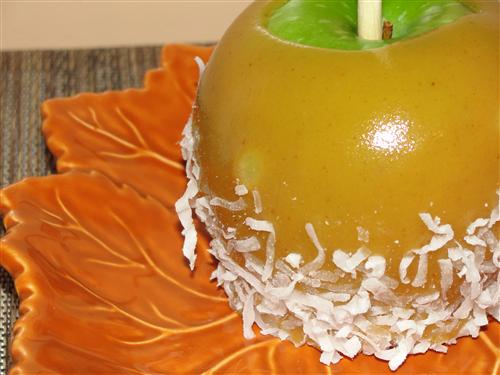
Caramel apples are a very traditional treat around Halloween. In my house, as I’m sure it was in most of yours, dipping apples involved unwrapping a whole bunch of premade caramels. Well, the truth is, premade caramel doesn’t hold a candle to homemade. After my first attempt at making my own, though, I understand why our parents always defaulted to the caramel cubes. It’s easy, and more importantly, it’s foolproof. I had two caramel apple making sessions. The first was simply a lesson in all the things not to do when making caramel apples. I’ll let you learn from my mistakes, so you can make beautiful caramel apples on your first try.
Here’s what you’ll need:
1 cup sugar
½ cup brown rice syrup
½ cup milk
½ cup cream
(or 1 cup half & half)
¼ teaspoon salt
1 teaspoon vanilla
Whatever toppings you want to use

Lesson one:
When I lived in Utah, most grocery stores would have a whole caramel apple setup around the apples this time of year. This always included popsicle sticks. Well, here in Mass., that is not the case. The two grocery stores I went to did have caramels by the apples, as well as those caramel wraps and caramel dip. They didn’t, however, have sticks… anywhere in the store. After much creative thinking, I finally decided that plastic knives would work just as well.
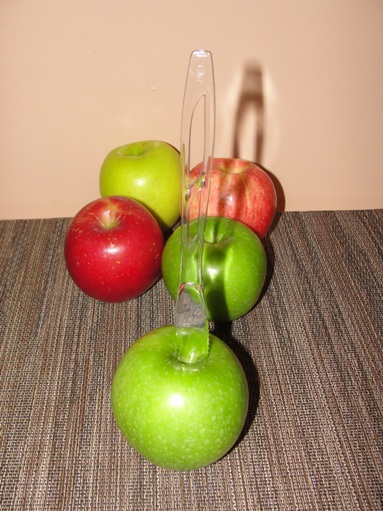
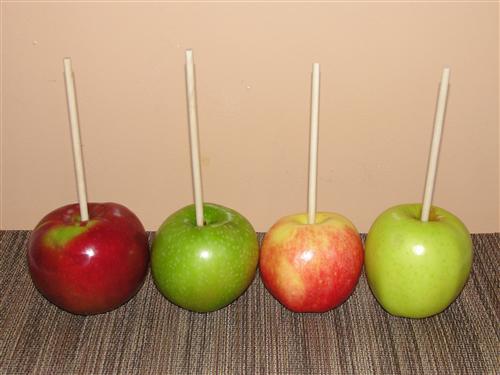
They don’t. They bend, and if you’re not careful, they even break. If your grocery store doesn’t have sticks, wait until you can go to a craft store and get some. For round two, I bought little wooden dowels which worked perfectly. So that’s step one in the process. Wash and dry your apples thoroughly, then insert your sticks about halfway into the apples.
Lesson two:
Even buttered parchment can stick, and if it does, it tears easily. Instead, line a sheet pan with buttered foil. Heavy duty foil if you’ve got it.
Now it’s time to start on the caramel. This recipe makes enough caramel for about 4 medium sized apples. Feel free to double the recipe if you need more, but make sure your pan is big enough. The caramel expands while it’s cooking so you need plenty of room. Poor in the sugar, brown rice syrup, milk, cream, and salt.
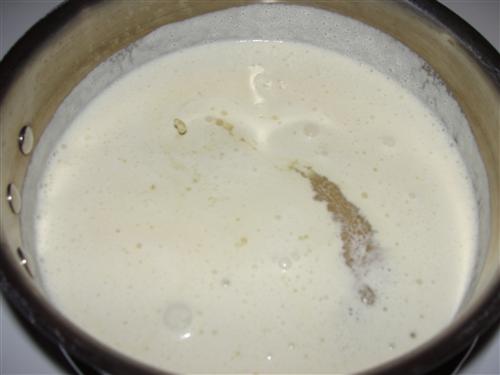
Stir the mixture over low heat until the sugar dissolves, then raise the heat to medium. Stir constantly until the mixture comes to a boil.
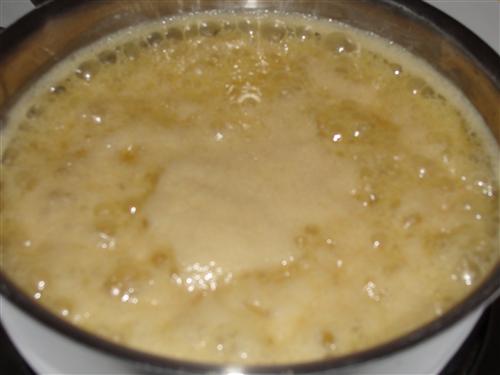
Once it boils, stop stirring. At this point, you can either place the lid on the pan for a minute or two or you can wash the sides of the pan with a pastry brush and water. Either will work to get rid of any errant sugar crystals. It’s important to do this because one seed crystal can turn this whole pot into a grainy mess. (If that happens to you, by the way, you can add a bit of water and start the whole cooking process over.) So, I don’t believe in candy thermometers. I think they’re a pain, and rarely reliable. I use the drop a bit of candy into ice water method. Perhaps that's where I went wrong.
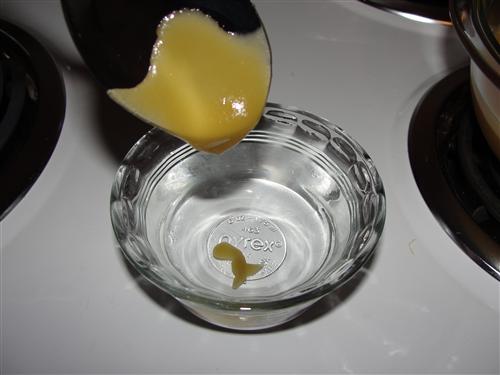
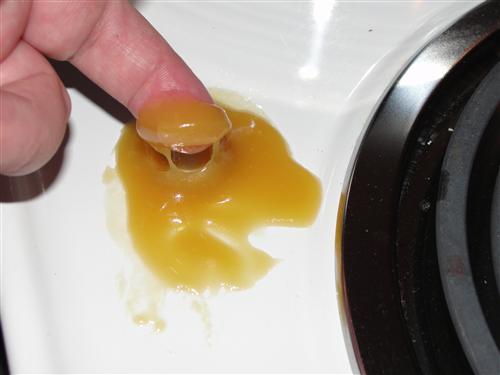
Just drop a bit of the candy mixture into ice water and feel it between your finger and thumb.
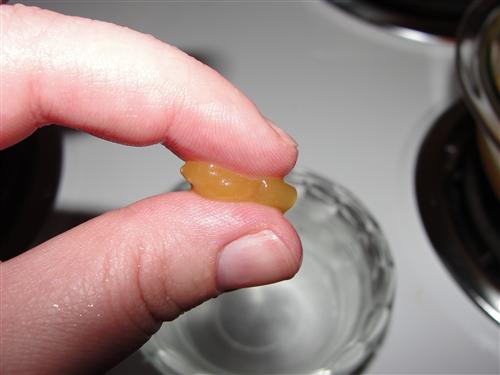
Lesson three:
The caramel needs to change color a bit more and hold its shape a little better than that. When it comes out of the ice water, it should have just about the consistency you want it to have on the apples. It’s called the firm ball stage.
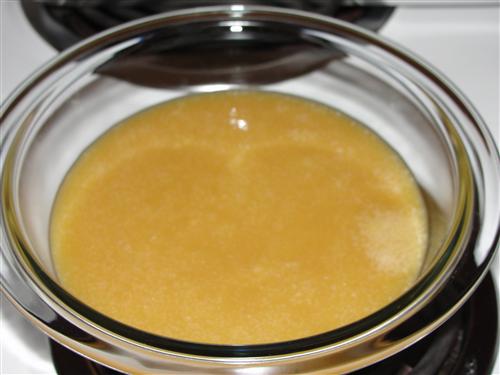
When you reach that stage, turn off the heat and add the vanilla. It’ll hiss and sputter, so be careful and stir quickly. Once it’s incorporated, pour the caramel into a clean pyrex or metal bowl.
If, like me, you have a little puddle of caramel where you’ve been setting your spoon, don’t waste it. That’s liquid gold… and not of the Velveeta variety.
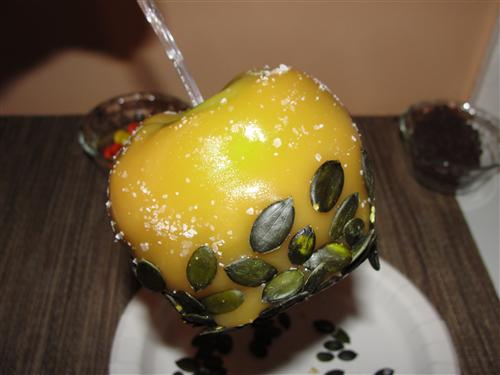
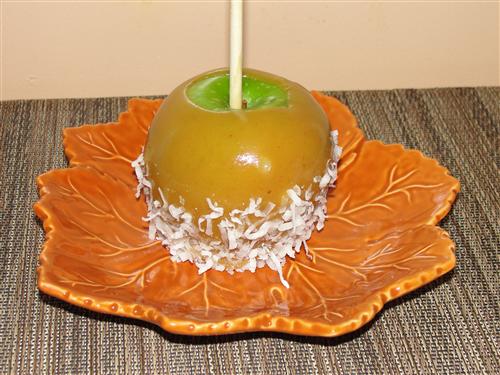
While the caramel cools slightly, prepare your toppings. My favorite was the coconut, but some other things you can use are mini chocolate chips, toffee pieces, pumpkin seeds, chopped nuts, and although I don't usually use things that are artificially colored, I thought Reeses Pieces were a cute option for Halloween. I used a paper plate for round one, but found that a shallow bowl actually works better, in round two.
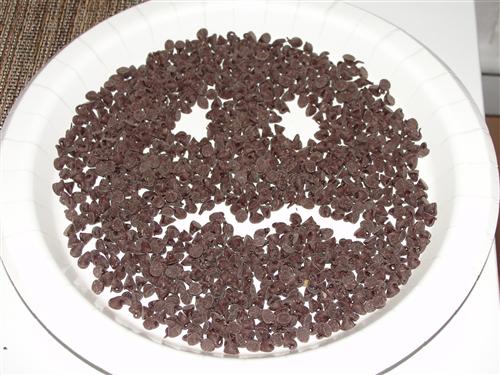
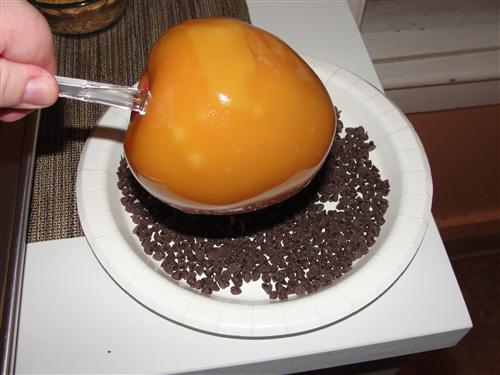
Yes, that was my attempt at a jack-o-lantern. I’m no better at making the real thing. Fortunately for me, dogs don't have any interest in carving pumpkins. But, onto dipping. Place the apple sideways in the caramel and roll it to coat all the way around.
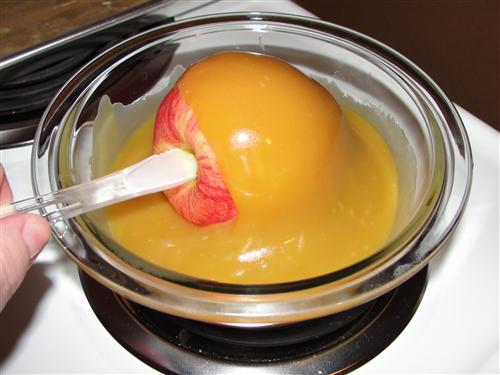
Allow the excess to drip off.
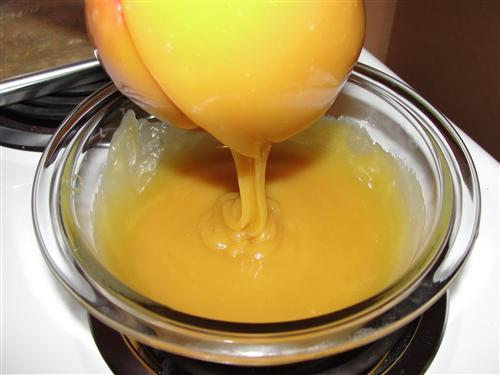
Turn it upside down and move it around to even out the caramel and allow it to cool. When it is mostly set, roll the bottom half of the apple in you topping.
On some of them, I also sprinkled a bit of sea salt on the top half.
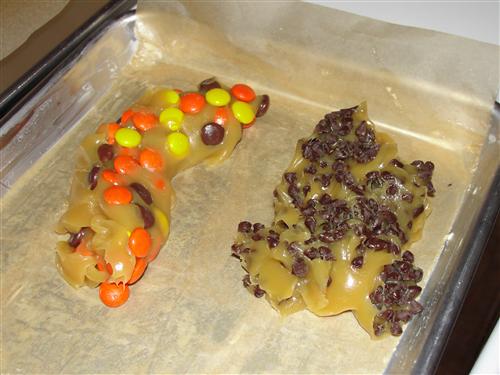
So, what happens if you don’t cook your caramel long enough?
Most of it runs off and pools around the apples. I wasn’t about to just waste all that caramelly goodness, though, so I scraped it off and had caramel candy piles, which I refrigerated and then cut into bite size pieces.
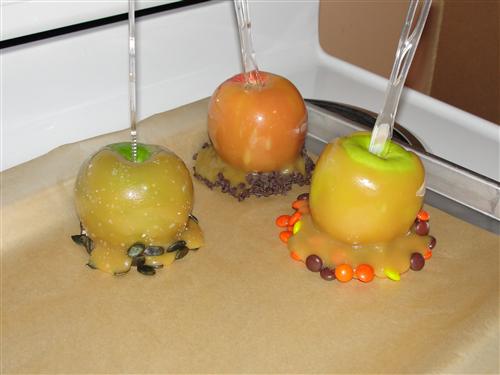
Fortunately, round two was much more successful.
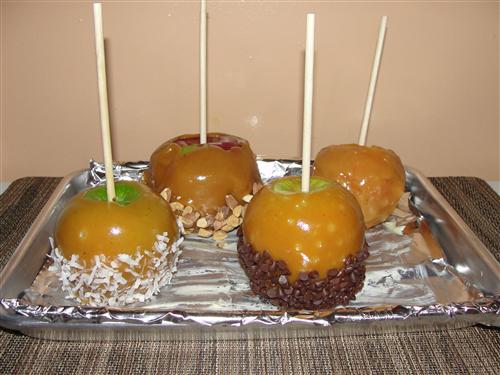
If you’ve cooked your caramel just right, you’ll end up with just a small ‘foot’ at the base of the apple.
Personally, I like to cut mine into more manageable pieces to eat them.

Feel free to just bite into it, if that’s more your style. Either way, you’ll be glad you went to all that effort instead of using the premade stuff… even if you have to do it twice.

Do you have any candy failure experiences?
Taneasha, dessert, snack 


