Search
Categories
Have a request?
This form does not yet contain any fields.


    Entries in Colors! (8)

    Friday
    Mar162012

    Pea Soup... It's Green!

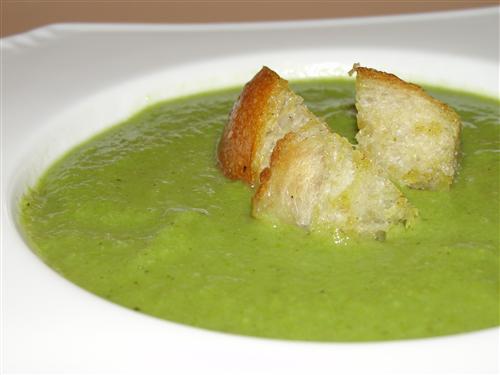
    In the spirit of St. Patrick’s Day, I decided to make something green this week.  Now if you’re anything like me, when you hear the words pea soup, you automatically think of split peas.  Well, pea soup can be made with fresh peas and it’s a nice, vibrant green with the sweet flavor of fresh peas.  I used frozen peas, but with spring on its way, take advantage of the season and use some fresh from the farm or your own garden. 

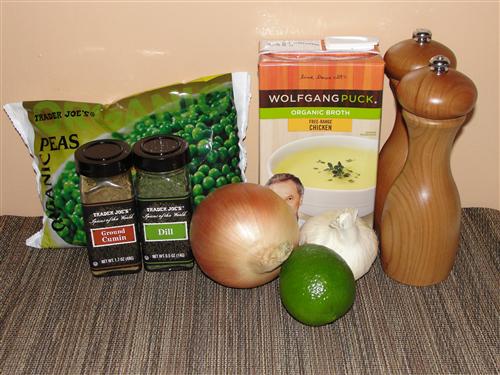
    Here’s what you’ll need:

    1 lb. of peas, frozen or fresh will work
    2 – 2 ½ cups chicken stock
    1 medium onion
    3 cloves garlic
    1 teaspoon cumin
    ½ teaspoon dried dill
    Juice of half a lime
    Salt and Pepper to taste

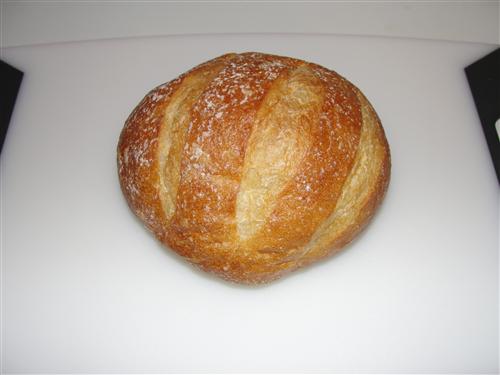
    As good as this soup is, it’s even better with homemade croutons, so I’ll show you how to make those first.  They’re so easy and delicious, you might never go back to store bought croutons again.  Start with some good bread, a baguette or some ciabatta work well.

    Cut the bread into bite size pieces. 

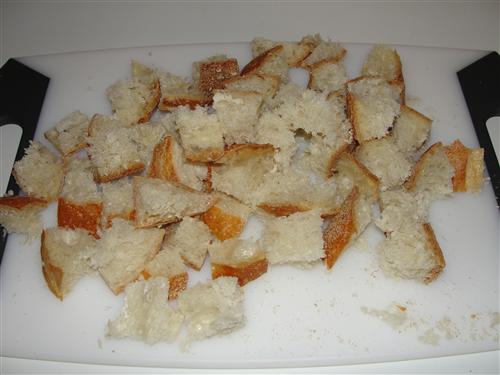
    I had about 4 cups or so of bread cubes.  In a large ziplock bag, put 3 tablespoons of olive oil. 

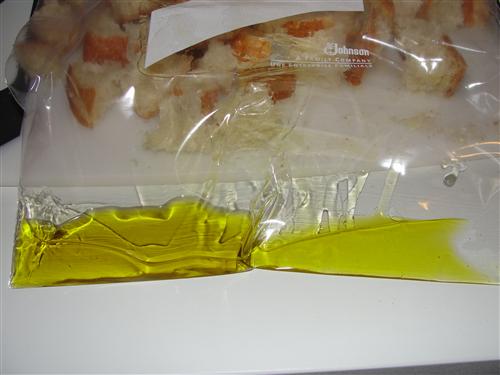
    Sprinkle in ¼ teaspoon or so each of cumin, garlic powder, salt and pepper.  Feel free to change this up with whatever spices you like.  Mix the spices into the oil and add the bread cubes. 

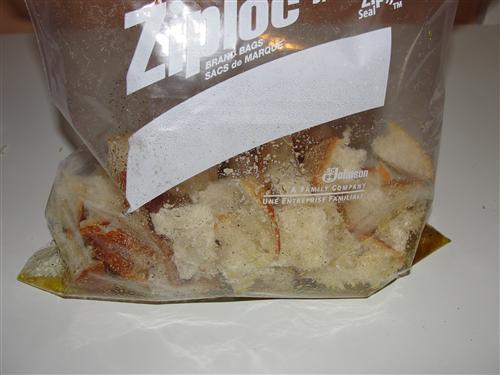
    Seal the bag and shake until everything is pretty evenly coated, then dump them onto a sheet pan. 

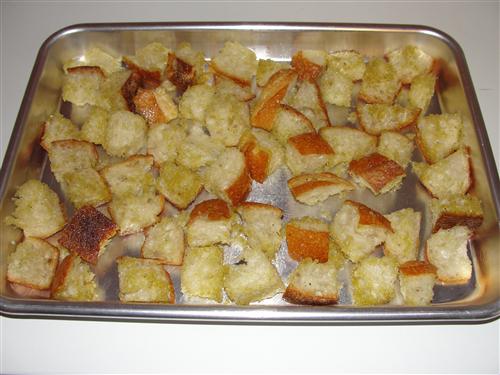
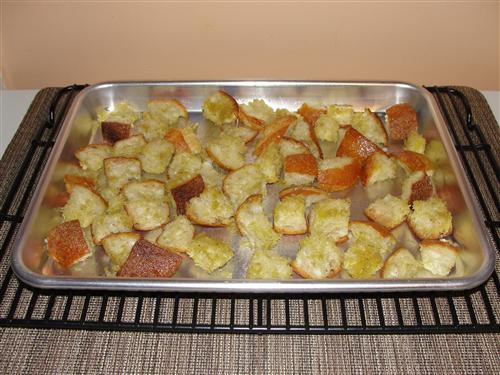
    Place the pan into a 225° oven.  If you didn’t preheat, that’s not a big deal this time.  Just turn the oven on and put the pan in anyway.  You don’t want to cook the bread cubes, we’re just trying to dry them out so they’re crunchy.  It took mine about 30 minutes.  When they’re crunchy, remove them from the oven and allow them to cool on the pan. 

    I told you they were easy.  Now let’s return to the soup.  Dice your onion and put it, with a tablespoon of olive oil, in a saucepan over medium heat. 

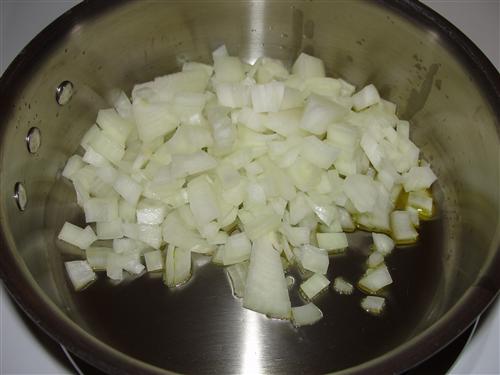
    Sprinkle it with a pinch of salt and stir it around, allowing it to sweat for about five minutes.  When the onions are translucent, add the minced garlic. 

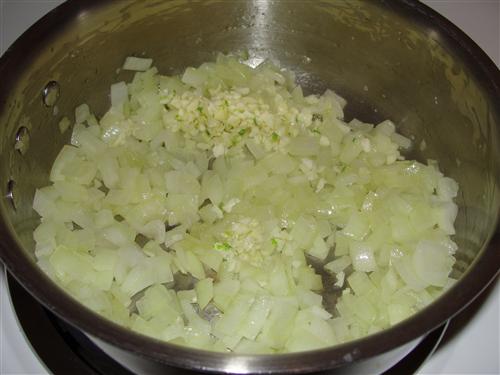
    Cook that, stirring frequently, for another two minutes then sprinkle on the cumin. 

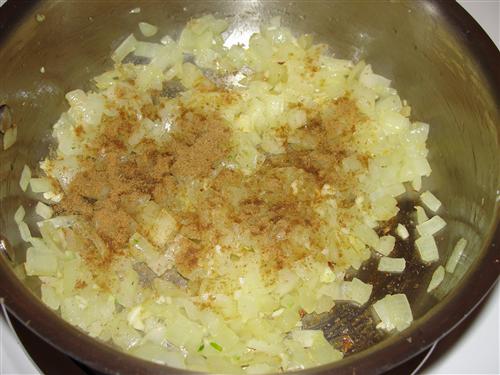
    Stir and cook that for one minute then add the dill. 

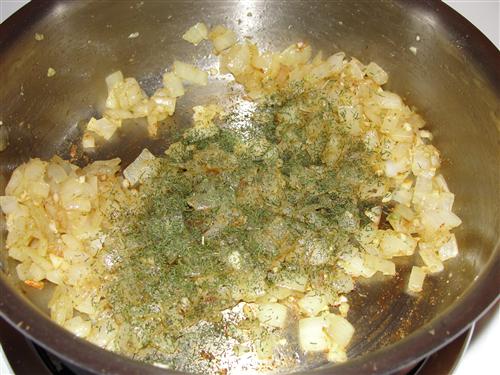
    And finally, pour in two cups of chicken stock. 

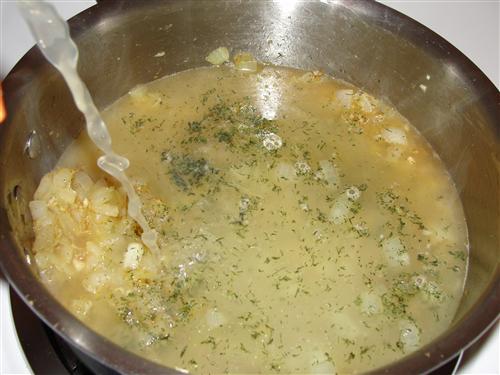
    Bring that to a boil and simmer for five minutes, then pour in your peas. 

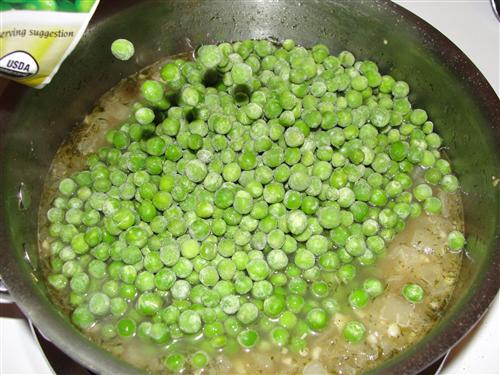
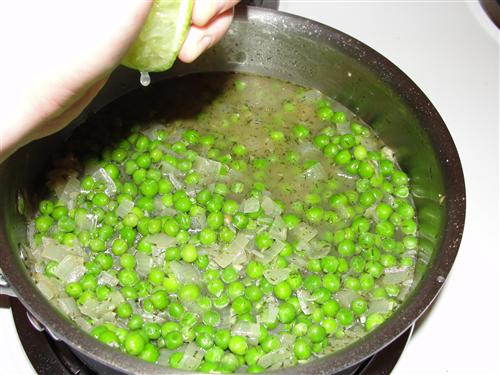
    As you can see, mine were still frozen.  Either way is fine.  Bring it back to a boil and cook the peas just long enough to heat them… about two minutes.  Turn the heat to low and squeeze in the juice of half a lime. 

    You could pour it into a food processor or blender at this point, or even eat is as is.  I pulled out my new immersion blender and went to town. 

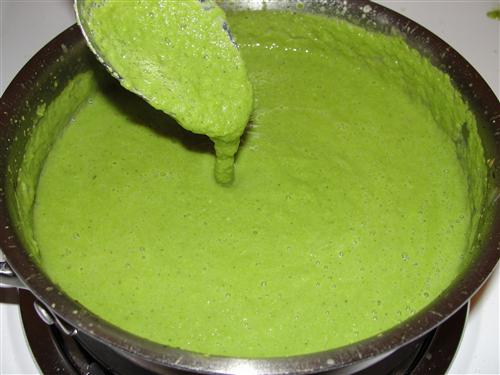
    Once it’s pureed, it’ll probably be a bit on the thick side. 

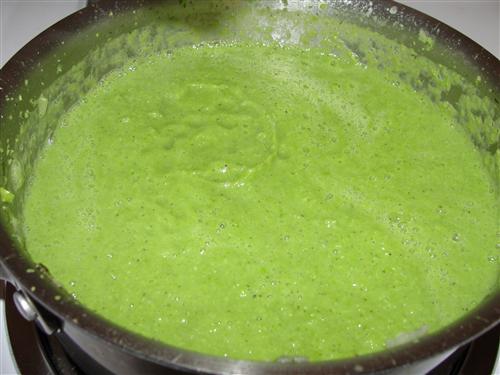
    Stir in enough chicken stock to get the consistency you like.  See?  It’s green! 

    Top it with a few of your delicious croutons and enjoy! 

    What’s your favorite green food?   


    Friday
    Apr222011

    The Colorful Cookie Conundrum...

    As you probably know, artificial dyes have had quite a place in the news lately for a few of their more common side effects, most notably increasing hyperactivity in children.  Even before all the latest findings I avoided artificial stuff, but now they are officially banned in my house.  Well, with Easter coming up and spring in the air, I want some fun colored goodies.  Sounds like it’s time for a little experiment.  Using nothing but things created by Mother Nature, herself, I set off to create a recipe for beautiful, and tasty, cookies. 

    First things first, we have to get the juicing out of the way.  I’ve chosen to use red beet, yellow beet, carrot, and spinach. 

    No, this is not my attempt to make healthy cookies.  I promise they won’t taste like vegetables by the time we’ve finished.

    Ok, juicing… I happen to have a really awesome juicer, which definitely helps for this process.  In goes veggies, out comes very brightly colored juice. 

    Chop your vegetables so they’ll fit through the chute.  Notice I’m using my ugly, old, black cutting board?  That’s because these things will stain.  Be careful not to get them on your clothes, especially.  Unfortunately, you will have to wash the juicer between each to prevent a mixture of colors, but it’s worth it. 

    See how pretty?

    Now, set those aside and we’ll start on the cookie dough.  Since you can’t divide an egg into four equal parts very easily, I think it best to make a cookie dough ‘starter’, if you will, and then divide that.  Here’s what you’ll need for the cookie dough. 

    1 cup butter (2 sticks)
    1 ⅓ cups sugar
    1 Egg
    1 teaspoon vanilla
    1 teaspoon distilled vinegar
    2 ⅔ - 3 cups all purpose flour
    ½ teaspoon salt
    ½ teaspoon baking powder
    1 teaspoon baking soda
    (If this recipe looks familiar, it’s because I used the same dough for my Valentine’s Day Cookies.) 

    In a mixing bowl, whip your butter until it’s soft and fluffy.

    Add the sugar and whip for another minute or so. 

    Mix in the vanilla, salt, and vinegar, followed by the baking powder and soda.  Finally, add the egg and mix until completely incorporated.

    Separate the batter into four ½ cup portions, and return one of them to the mixing bowl. 

    Here’s where you have to get a bit creative.  I decided that I would not only add different colors to each portion, but different flavors as well.  Now is when you’ll want to add those as well.  This is how it went for me:

    Green – 1 ½ teaspoons spinach juice and ½ teaspoon almond flavor

    Yellow – 3 teaspoons yellow beet juice, ½ teaspoon lemon flavor, and 1 teaspoon lemon zest

    Orange – 3 teaspoons carrot juice, ½ teaspoon flavor, and 1 teaspoon orange zest

    Pink/purple – 1 teaspoon red beet juice and ½ teaspoon vanilla (oops, no vanilla picture)

    Yes, I am aware that they sell natural food coloring, similar to the flavorings I’m using there, but what fun would that be? 

    Now, add your desired color and flavor combination to the mixing bowl. 

    When it’s mixed in, it should look something like this.

    Not sure why I didn’t take two pictures with the same color, but you get the idea. 

    Next comes the flour.  Start by stirring in ⅔ of a cup.  That should get you pretty close, but in the yellow and the orange, I had to add another tablespoon.  You’re going for a soft, play dough like consistency.  If it’s still sticky, add flour, one tablespoon at a time until it just loses that stickiness.  When you’ve finished with all your different colors, it’ll even look like you’re playing with play dough.  How cute is that?

    Here’s a good place to preheat your oven to 350°. 

    Now, roll the dough into balls about the size of a quarter and drop them into a little bowl of sugar. 

    Shake them around until they’re coated all the way around and then place them on a parchment lined cookie sheet, leaving about two inches between them. (I had to put mine closer together for the picture.  Leave more space than this) 

    Bake at 350° for 8-10 minutes, or until the edges just start to brown. 

    Not sure why the top right one went a little wonky.  I did mention this was an experiment, didn't I?  The ones that came after these were all perfectly beautiful. 

    Cool them for a minute or two on the pan, and then remove to a cooling rack.  When they’re all baked and cooled, taste one of each flavor (yes, I just told you to eat four cookies) and marvel at how good they are!  Then take a picture of the results of all your hard work and show all your friends how talented you are and brag about how you only used vegetable juice to make such beautiful, fun cookies.  (I may or may not have done this) 

    Last, but not least, pack the majority of them into a container and send them to work with your husband so you don’t sit around and eat every last one. 

    Now, I realize not everyone has a juicer on hand, and I don’t really expect a large number of people to follow this recipe to the letter.  My intent, rather, is to get your creative ‘juices’ flowing, to get you to think outside of the box and look for a more natural alternative to artificial dyes.  I've shown you the things I used in mine, but if you don’t have a juicer, you could probably try blood oranges, or even bottled juice like pomegranate or carrot.  Have fun with it!  That’s what baking is supposed to be about.  


    Page 1 ... 1 2 3 4