Crispy Crunchy Beef and Bean Burritos
 Taneasha
It’s amazing what a difference a short stay in the oven can make. Feed your family regular beef and bean burritos and you’ll get, “Meh.” But make the burritos crispy on the outside and, “OMG these are good! Can I have another?” You’ll definitely want to add this to your easy dinner repertoire.
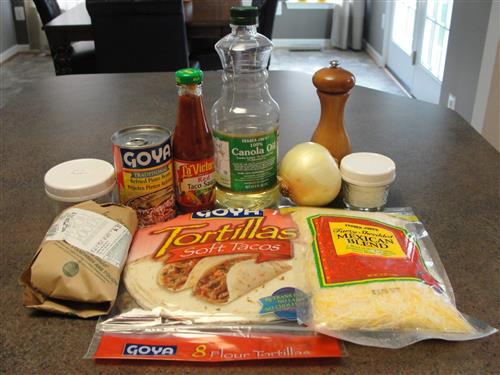
Here’s what you’ll need:
- ½ lb. ground beef
- ½ onion, minced
- ½ teaspoon salt
- ¼ teaspoon pepper
- 1 Tablespoon chili powder
- 1 can (16 oz.) refried beans
- ¼ cup taco sauce
- 1 cup grated cheese
- Tortillas
- Canola oil
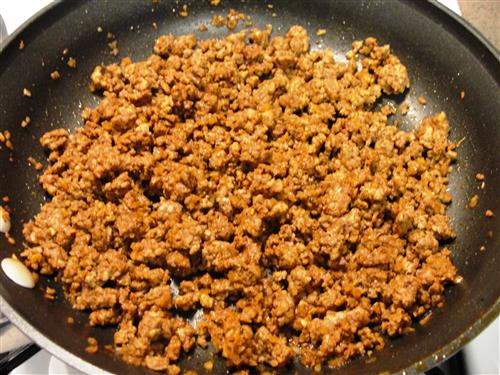
In a pan over medium heat, combine the beef, onion, salt, pepper, and chili powder. I actually substituted dried minced onion for the fresh because I was feeling lazy. Either will work fine.
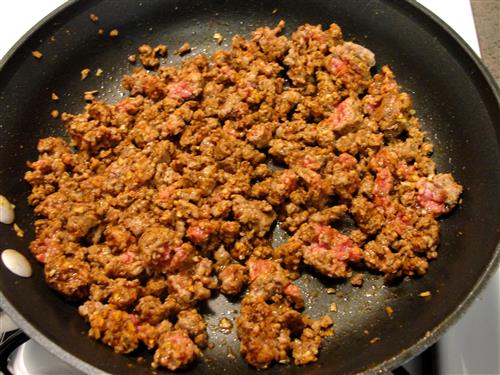
When the meat is chopped up and mixed with the spices and onion, put a lid on for 10 minutes, stirring once or twice. While it’s cooking, put the beans into a bowl and add the taco sauce. I like La Victoria, but use whatever brand and heat level is your favorite.
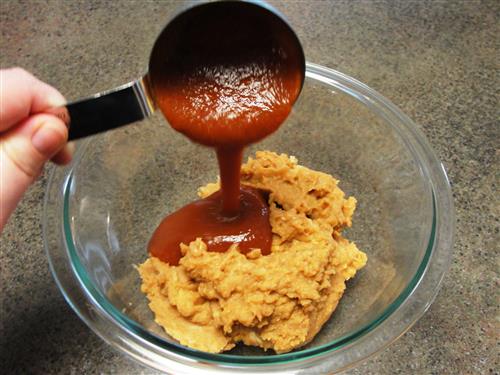
Stir those together.
After 10 minutes, return to the meat. Make sure it’s in fairly small pieces.
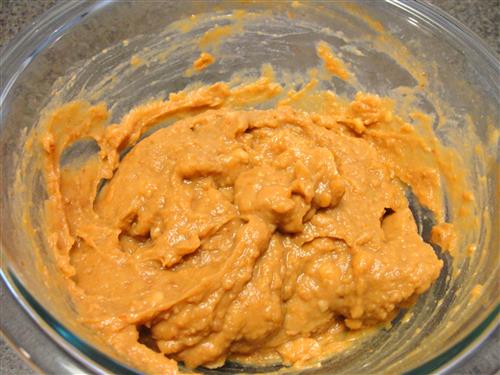
Add the beef to the bean mixture.
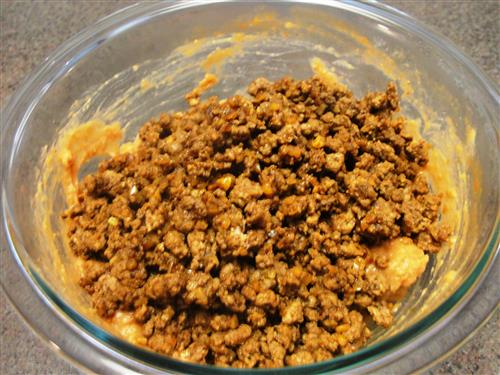
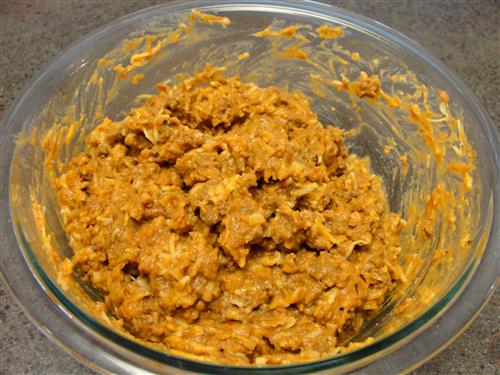
Stir that in. (I know, this isn’t the most photogenic food ever.)
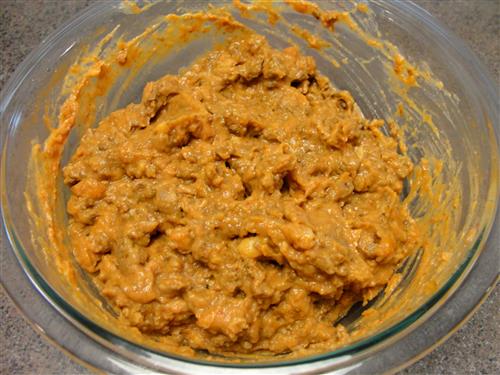
Add the cheese.
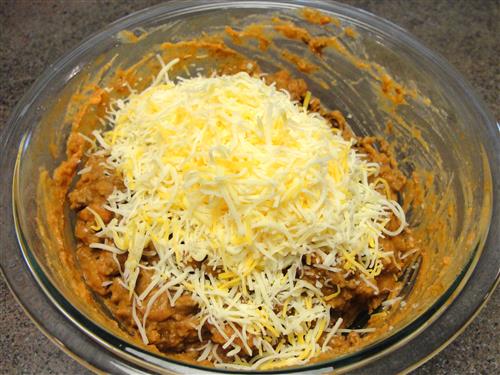
Stir.
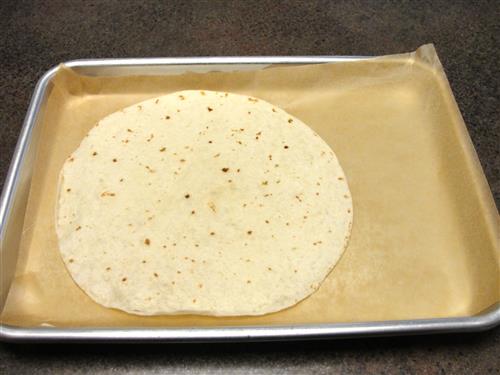
And now for the fun part. Wait, first you need to preheat your oven to 375°. Then, line a sheet pan with parchment and lay out a tortilla. Mine were quite pliable, but if you’re worried yours might crack, just heat them for a few seconds in the microwave.
Spoon on a bit of the meat/bean mixture. It depends on the size of your tortillas, but I used probably about ⅓ cup in each one. Don’t get too carried away or you’ll have oozing burritos before you’re done.

Wrap the edge around and fold it under itself.
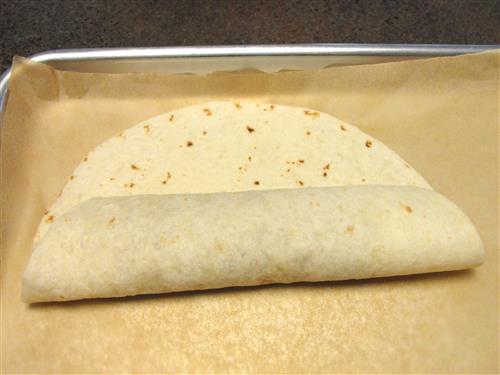
Fold in the ends.
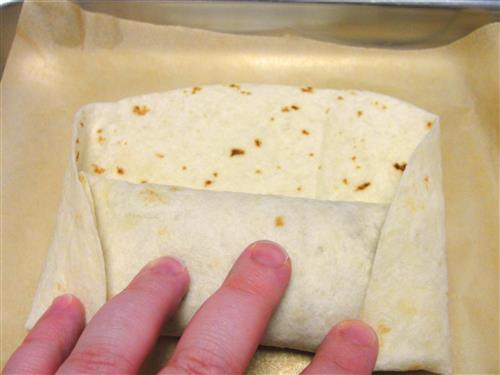
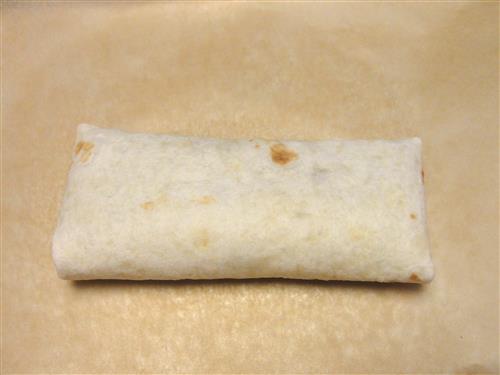
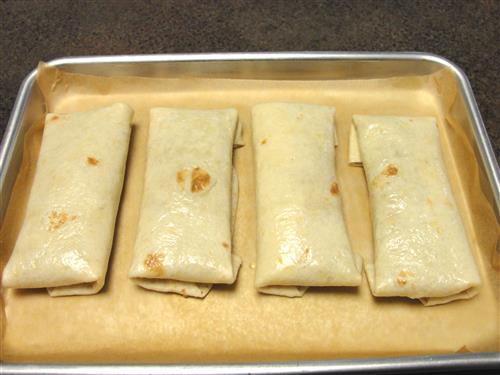
Then just roll it over and gently flatten. Voilá! Err… ¡Ahí está! Beautifully rolled burrito.
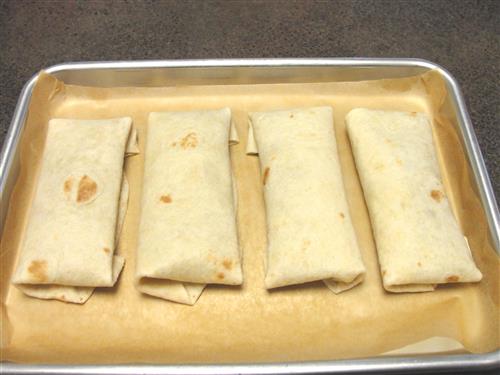
This is easily enough filling for 8 burritos. I only made 4 and saved the rest of the filling to use in a day or two. This is also a small sheet pan, so you should be able to fill 8 burritos and fit them all on one regular sized sheet pan.
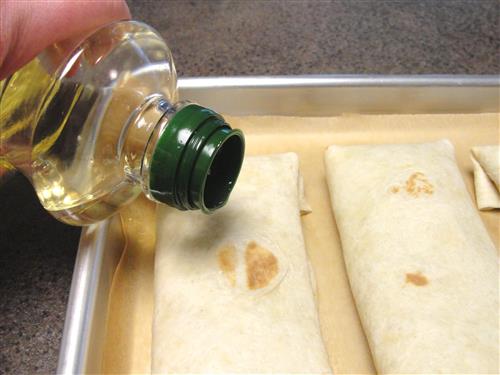
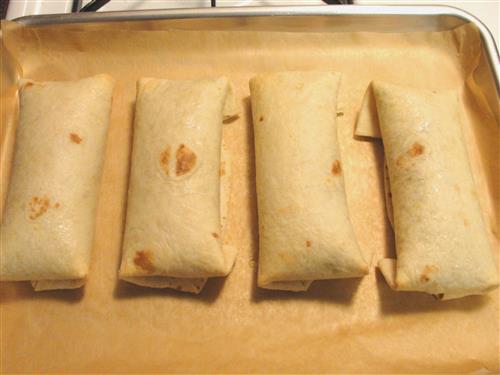
Now here's the secret for making them crispy. Drizzle on a tiny bit of canola oil. Think ¼ teaspoon or less per burrito.
Rub it around with your fingers to cover the entire surface of the burrito. I prefer using my fingers over a pastry brush for this because it’s easier to get a very light coating, which is what we’re shooting for.
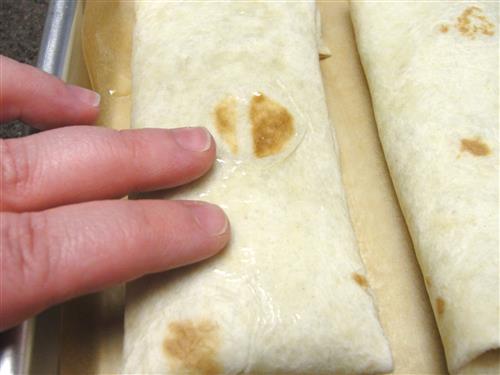
See? Nice and shiny, but just barely coated.
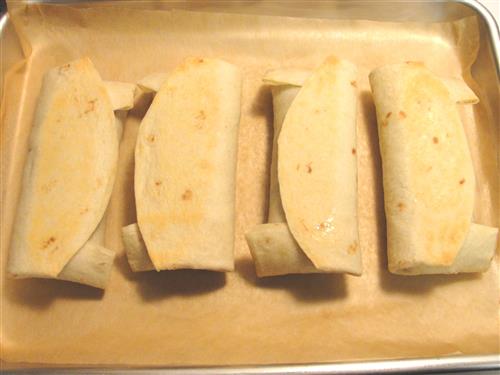
Bake at 375° for 20 minutes. They’ll be just starting to brown on top.
Flip them over.
Then back into the oven for another 10 minutes. They should be nice and brown now.
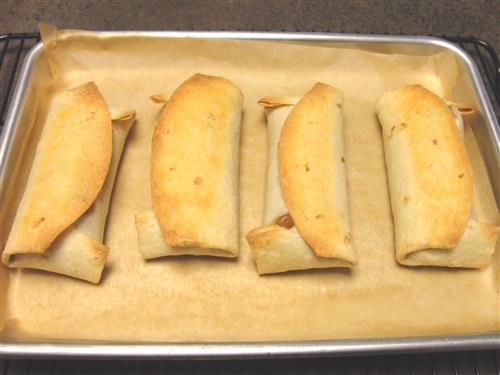
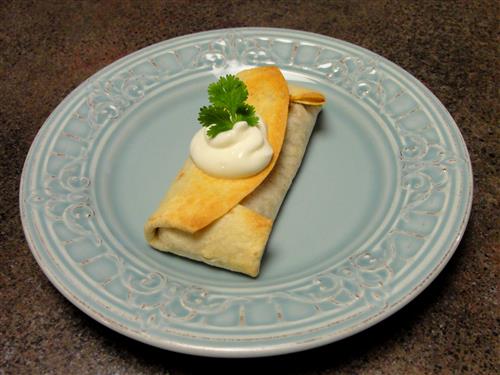
Crispy burrito goodness. I’m pretty sure ovens are magic.
What easy weeknight meal would you like to see have a facelift?